Still using the classic editor in WordPress? You’re not alone. At WPBeginner, we were longtime classic editor fans ourselves – we’d gotten so comfortable with it that we initially resisted the switch to Gutenberg.
But after finally making the transition, we’re actually thankful we did. The block editor has transformed how we create tutorials, making it much easier to add custom layouts, content patterns, and reusable blocks that we use frequently.
That said, we understand the hesitation. When you’re running a busy website, any major change feels risky. The good news? With proper preparation, you can safely test the block editor without disrupting your current workflow.
In this guide, we’ll share the exact process we used to test and transition to the block editor, based on our experience managing thousands of WordPress posts.
Why Test Your WordPress Site Before Updating to Gutenberg?
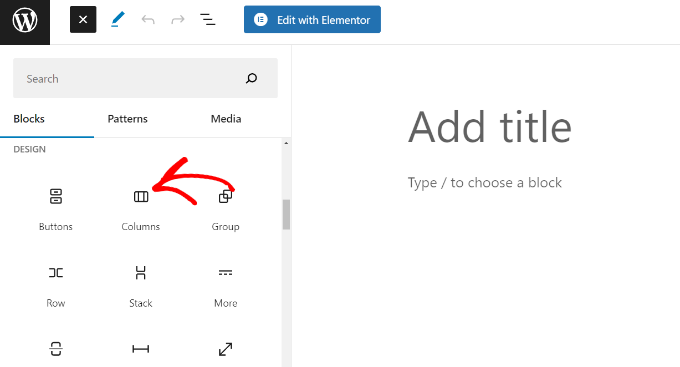
WordPress 5.0 brought a totally new way of creating content with a brand new editor called the block editor or Gutenberg. It uses blocks, which are content elements that you can move around the editor.
However, some users are still reluctant to update their WordPress websites to the block editor, fearing that something will not work or that Gutenberg may break their website.
Gutenberg was developed over a long period with enough time for theme and plugin developers to make their products Gutenberg-compatible. All top WordPress plugins are already fully compatible with Gutenberg, and most themes will work without a hiccup.
However, to avoid any conflicts, you may want to test your site with Gutenberg and newer versions of WordPress. This will allow you to find if any of your plugins or themes are incompatible. You can also catch unexpected WordPress errors and fix them before updating your live site.
That being said, now let’s go ahead and check how to test your website for updating to the Gutenberg block editor step-by-step. You can use these quick links to navigate through this tutorial:
Step 1: Create a Complete Backup of Your Website
You must always create a complete backup of your WordPress website before any major update. Backups protect you against any damage and avoid problems that can happen during the update process.
Keeping regular website backups is important even if you aren’t updating your site because they can save you in catastrophic situations like malware attacks, hacking, and more.
There are plenty of WordPress backup plugins that you can choose from. We recommend using Duplicator because it allows you to create manual and automated backups and store them in multiple locations.
Step 2: Test Your Site on a Local Server or Staging Site
After you have created a complete backup of your website, you are now ready to test your website with the newest version of WordPress and the Gutenberg editor.
There are two common methods to test new updates without actually affecting your live site:
- Test your website on a local server installed on your computer.
- Test your website on a staging server.
Both options allow you to test WordPress with the block editor and your existing content, plugins, and themes.
1. Test Your Website on a Local Server
Using a local server simply means installing your WordPress site on your personal computer with software like WAMP or MAMP (for Mac).
In this method, you will first move a copy of your live WordPress site to the local server using a migration plugin like Duplicator.
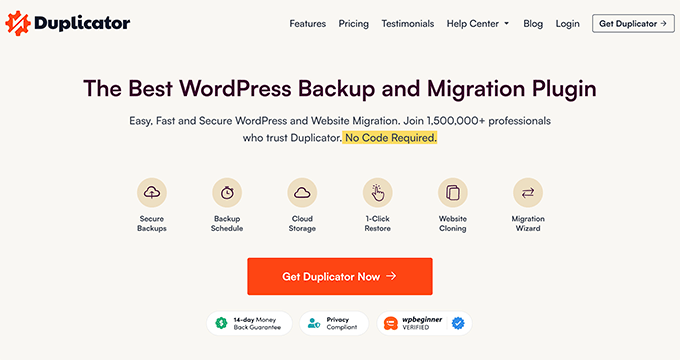
Then on the local site, you can update to the latest version of WordPress and test out all your plugins/themes for compatibility with the block editor.
You can also make changes on the local site and upload them to your live site when you are done.
If you didn’t need to make any changes to the local site, and everything seemed ok, then you can go ahead and update your live site to the latest version of WordPress.
2. Test Your Website in a Staging Environment
A staging site is a separate development version of your website where you can try out new features.
It’s usually a subdomain of your site that’s restricted from public access. It’s where you can test new updates, themes, and plugins, or use it for all your development. Once you have tested everything necessary, you can then upload it to your live site.
Most top WordPress hosting companies offer 1-click staging site installation from your hosting account.
If your site is hosted with Bluehost, then you will find an option to create a staging site in the Bluehost menu in your WordPress admin dashboard.
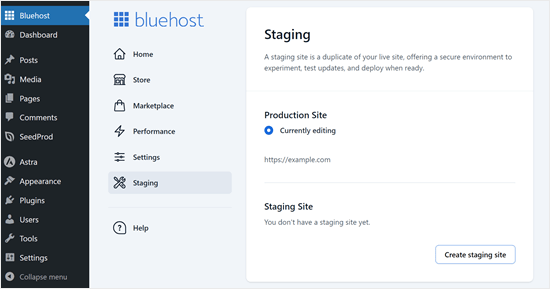
You can also create 1-click staging sites on Hostinger, WP Engine, and SiteGround. If you are not using any of these hosting companies, then you should ask your host because they may offer this feature.
If your hosting service doesn’t have a staging site installation feature, then you can still do it manually on your own. Here’s our step-by-step tutorial on how to set up a staging environment in WordPress.
Step 3: Install the Classic Editor Plugin in Case of Compatibility Issues
Now, there’s a chance that a theme or plugin wasn’t working after updating WordPress, which means you still have work to do.
You need to reach out to the theme or plugin developer and ask them to make it compatible with the latest WordPress release.
If you don’t get a positive response, then you need to find an alternative theme or plugin to replace the incompatible ones.
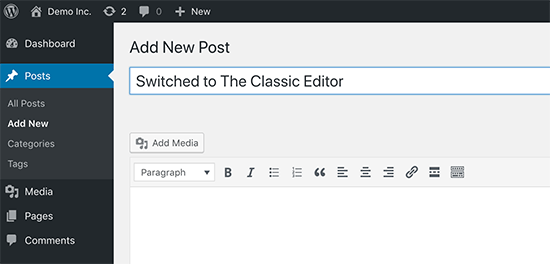
Alternatively, you can also simply disable Gutenberg by installing the Classic Editor plugin on your WordPress site. Doing this will allow you to safely update WordPress while still keeping the classic editor that you are familiar with.
Classic Editor is an official WordPress plugin from WordPress core contributors that allows you to switch back to the classic WordPress editor. With this plugin, you can hide the Gutenberg editor and create content the same way as before.
This is also a good option if you don’t want tp the Gutenberg update.
Step 4: Learn More About the Gutenberg Editor
If you are just starting your first WordPress blog, then you are in luck. You will quickly get used to the awesome new block editor, which is faster, more modern, and incredibly powerful.
On the other hand, if you have been using WordPress for a while, then the new editor is an exciting new experience for you.
Most of us are used to working with the old editor and have set up our workflows around it.
The good news is that you can still do all the things you did in the old editor with Gutenberg and then some more.
To help you learn new features, we have created these articles:
- How to Use the WordPress Block Editor (Gutenberg Tutorial)
- How to Bulk Convert Classic Blocks to Gutenberg in WordPress
- How to Update Your Old WordPress Posts with Gutenberg Block Editor
- How to Add a New Post in WordPress and Utilize All Features
- How to Add and Align Images in WordPress Block Editor (Gutenberg)
- How to Select and Use Nested Blocks in WordPress
- Beginner’s Guide: How to Use WordPress Block Patterns
- How to Use Distraction Free Fullscreen Editor in WordPress
- How to Undo Changes in WordPress with Post Revisions
You can also check out our complete guide on the Full Site Editor, which is like the block editor but for editing your WordPress themes.
We hope this article helped you to learn how to test your WordPress site for updating to Gutenberg and the block editor. You may also like to see how to fix common block editor problems, and our expert picks for the best Gutenberg block plugins.
If you liked this article, then please subscribe to our YouTube Channel for WordPress video tutorials. You can also find us on Twitter and Facebook.


Anibal
You can use DemosWP , it’s a site to créate WordPress installtions for free
WPBeginner Support
Thanks for bringing this site to our attention, we’ll certainly take a look at it.
Admin
Tomy
This is very useful, thanks, very helpful
WPBeginner Support
Glad our article was helpful
Admin