If you’re looking for a creative way to keep visitors engaged with your content, even when they switch tabs, then adding browser tab notifications in WordPress is an excellent idea.
Browser tab notifications are dynamic messages or alerts that appear on a browser tab itself. They can help catch people’s attention and bring them back to your site. This subtle feature can boost engagement and help you achieve your goals.
We have been using browser tab notifications across several of our partner brands, like WPForms. From our experience, we’ve noticed that many users who leave the website tend to return after seeing a notification in the browser tab.
In this article, we will show you how to easily add browser tab notifications in WordPress.
What is a Browser Tab Notification?
A browser tab notification is a message that appears in the tab for your website when one of our visitors is looking at a different site in their browser.
By adding a browser tab notification feature on your WordPress website, you can grab the user’s attention the moment they open another tab to leave your page.
For instance, you can change the favicon of your website, animate it, write a custom message, or just flash the tab.
If you have an online store, browser tab notifications can really help you out. These notifications will bring back distracted customers, lower cart abandonment rates, and increase customer engagement.
Using this feature, you can alert your customers about cart abandonment or even offer a discount if they return their attention to your site.
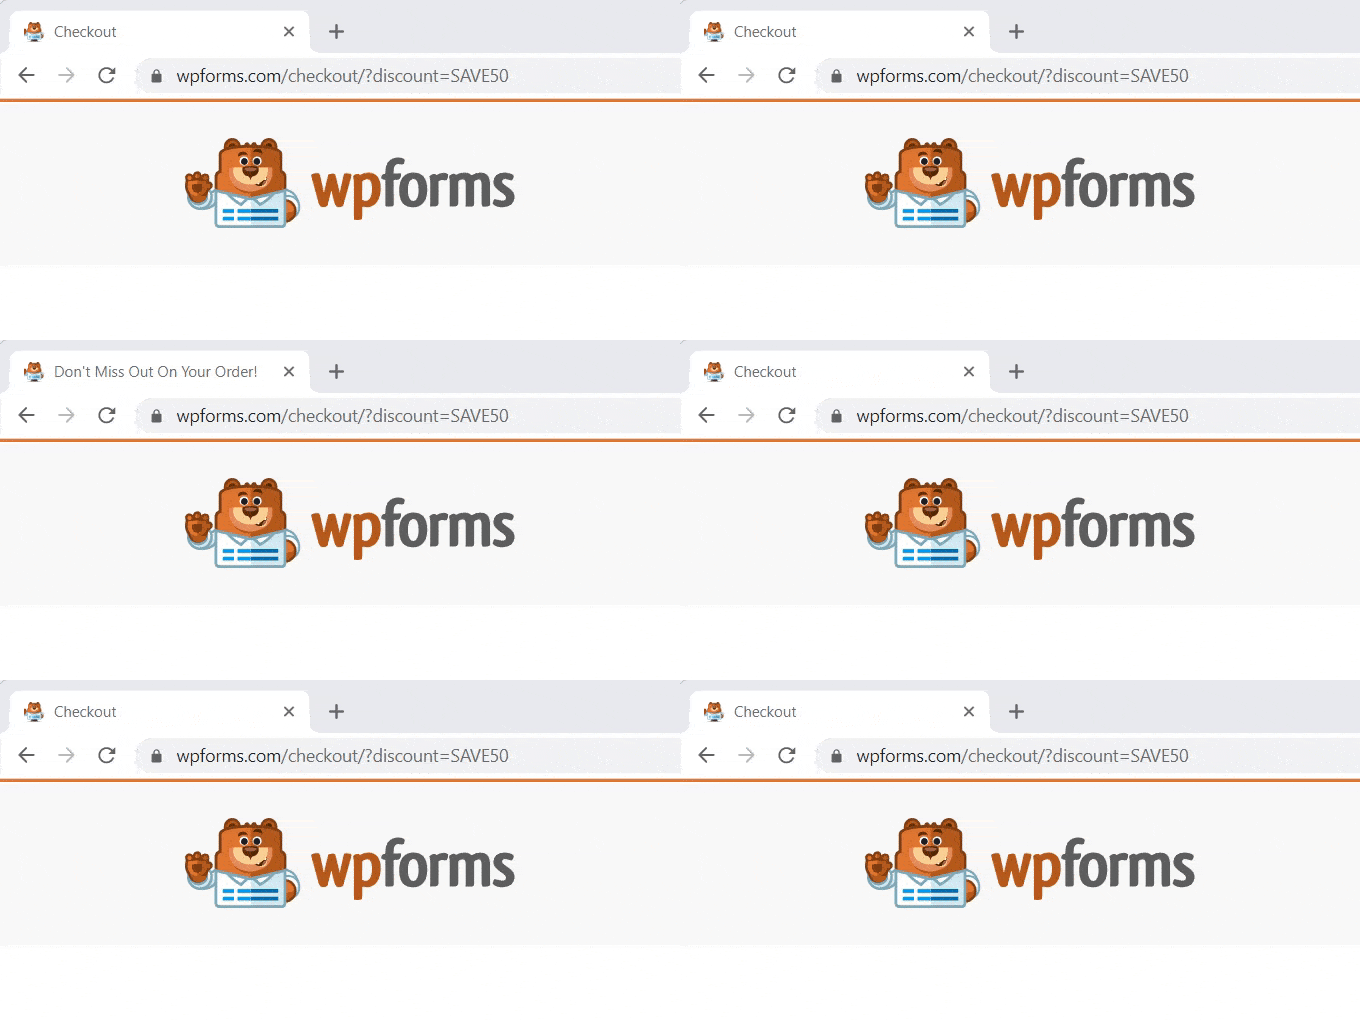
Here is an example of a browser tab notification.
That being said, we will show you how to easily add different types of browser tab notifications in WordPress.
You can use the links below to jump to the method of your choice:
Install WPCode to Add Browser Tab Notifications
You can easily add browser tab notifications on your site by adding custom code in WordPress. Usually, you have to edit your theme’s functions.php file, but that can break your website with even a small error.
That’s why we recommend using WPCode, which is the best WordPress code snippets plugin on the market. It is the safest and easiest way to add custom code to your site.
First, you need to install and activate the WPCode plugin. For more details, you can see our step-by-step guide on how to install a WordPress plugin.
Note: WPCode also has a free version that you can use for this tutorial. However, upgrading to the paid plan will give you access to more features.
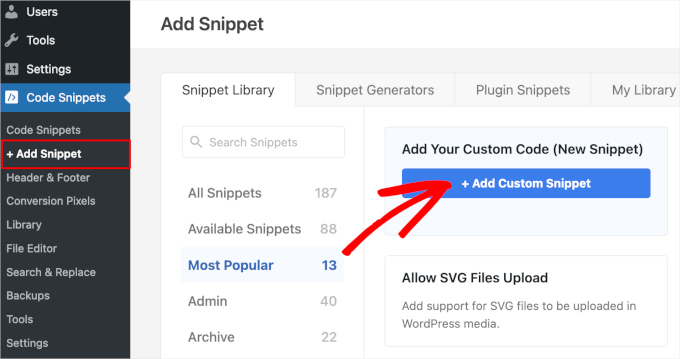
Upon activation, visit the Code Snippets » + Add Snippet page from your WordPress admin sidebar.
Now, hover your mouse over the ‘Add Your Custom Code (New Snippet)’ option and click on the ‘+ Add Custom Snippet’ button under it.
Then, select the code type from the list of options that appear on the screen.
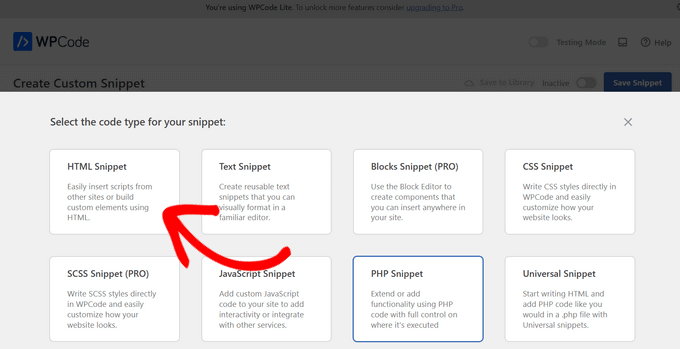
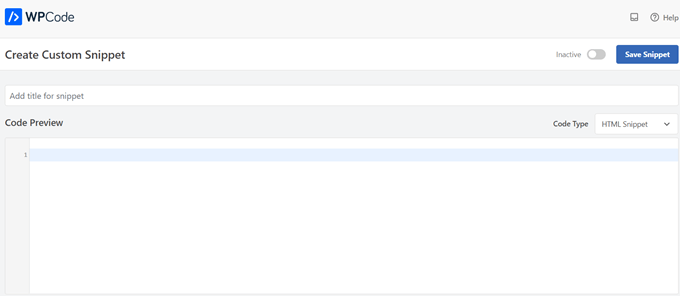
After that, you’ll be taken to the ‘Create Custom Snippet’ page.
No matter which type of browser tab notification you use, you will enter the code here.
Type 1: Showing New Updates as a Browser Tab Notification
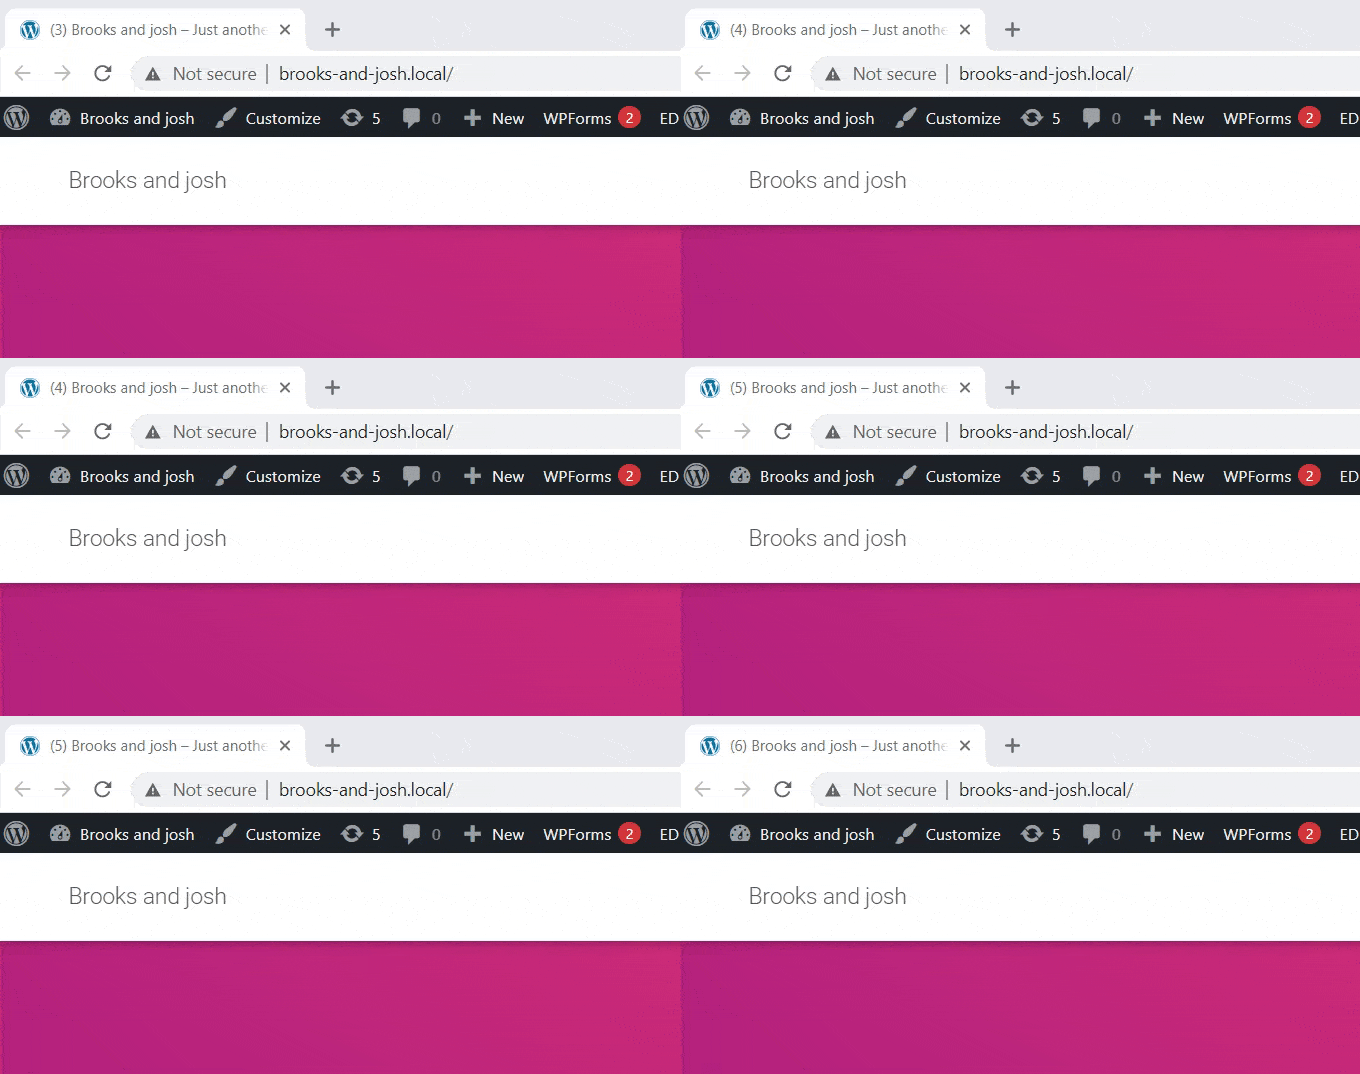
This method is for you if you want your users to be alerted about any new updates that are being posted on your site. A number will appear in the tab to tell them how many new items they are missing.
For example, if you have a WooCommerce store and you just added some new products to the inventory, the user will see a number that indicates how many new products were added in the browser tab notification.
You can see this in the image below:
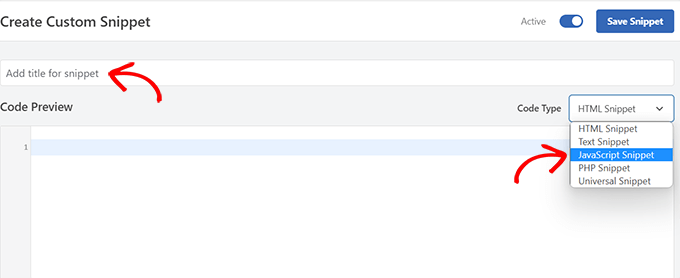
Once you’re on the ‘Create Custom Snippet’ page, you need to name your snippet. You can choose anything that helps you identify the code.
Next, select ‘JavaScript Snippet’ as the ‘Code Type’ from the dropdown menu on the right.
Then, all you have to do is copy and paste the following code snippet into the ‘Code Preview’ box:
let count = 0;
const title = document.title;
function changeTitle() {
    count++;
    var newTitle = '(' + count + ') ' + title;
    document.title = newTitle;
}
function newUpdate() {
    const update = setInterval(changeTitle, 2000);
}
document.addEventListener('DOMContentLoaded', newUpdate );
Once you have done that, scroll down to the ‘Insertion’ section. You will find two options: ‘Auto Insert’ and ‘Shortcode.’
Simply choose the ‘Auto Insert’ option, and your code will be automatically inserted and executed on your site.
You can use the ‘Shortcode’ method if you only want to show new updates on specific pages where you add the shortcode.

After that, scroll back to the top of the page and toggle the ‘Inactive’ switch to ‘Active’.
Finally, click the ‘Save Snippet’ button to store your settings.
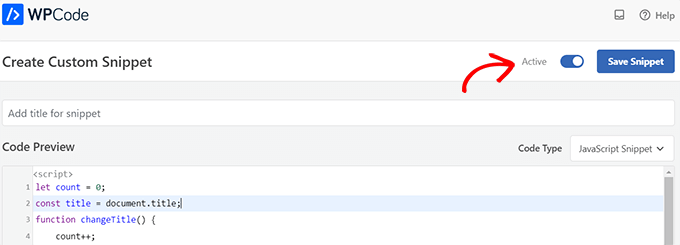
With that finished, your custom code snippet will be added to your site and start working.
Type 2: Changing Favicons as a Browser Tab Notification
With this method, you will show a different favicon on your site’s browser tab when users navigate away to another tab.
A favicon is a small image that appears on web browsers. Most businesses use a smaller version of their logo.
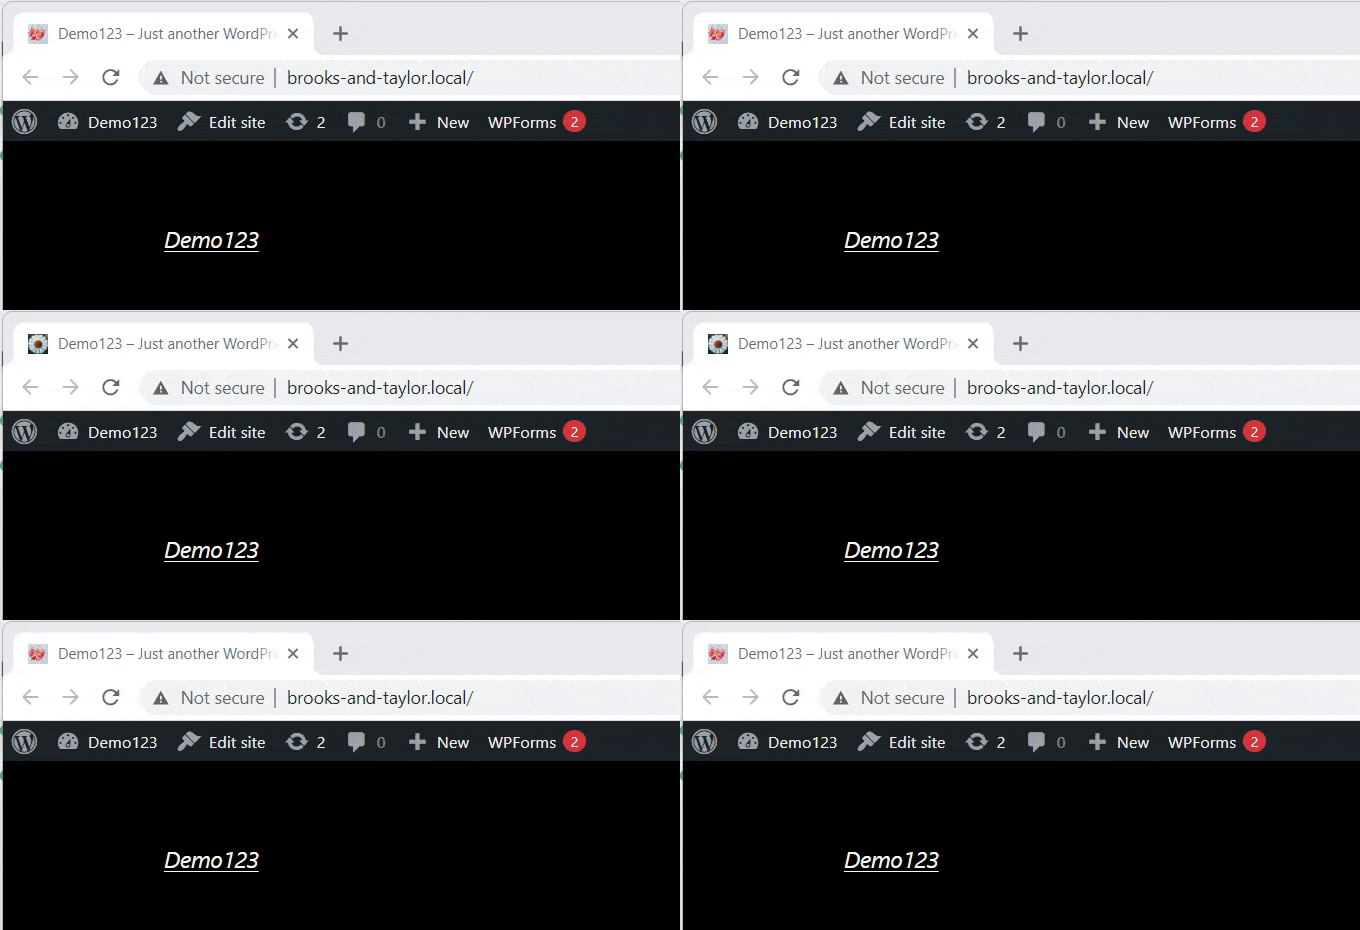
To change favicons on your browser tab, we will be using the WPCode plugin.
First, visit the Code Snippets » + Add Snippets page in your WordPress admin panel and click on the ‘Use Snippet’ button under the ‘Add Your Custom Code (New Snippet)’ option.
This will take you to the ‘Create Custom Snippet’ page, where you can start by entering a title for your code snippet.
Now, simply choose ‘HTML Snippet’ as the ‘Code type’ from the dropdown menu on the right.
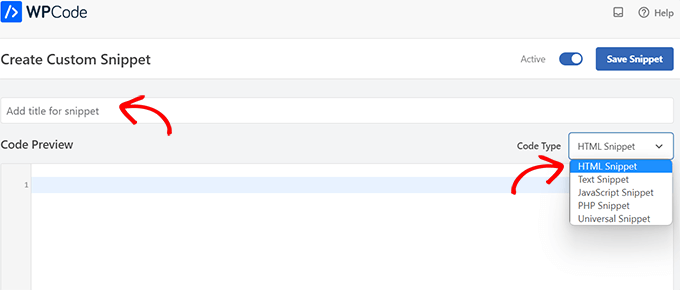
Once you’ve done that, copy and paste the following code in the ‘Code Preview’ box:
<link id="favicon" rel="icon" href="https://example.com/wp-content/uploads/2022/10/favicon.png"/>

<script>var iconNew = 'https://example.com/wp-content/uploads/2022/10/favicon-notification.png';

function changeFavicon() {
    document.getElementById('favicon').href = iconNew;
}
function faviconUpdate() {
    const update = setInterval(changeFavicon, 3000);
    setTimeout(function() {
        clearInterval( update );
    }, 3100);
}
After you’ve pasted the code, simply remove the example favicon links from the code and replace them with your own image links.
You can see the links highlighted in our code below.
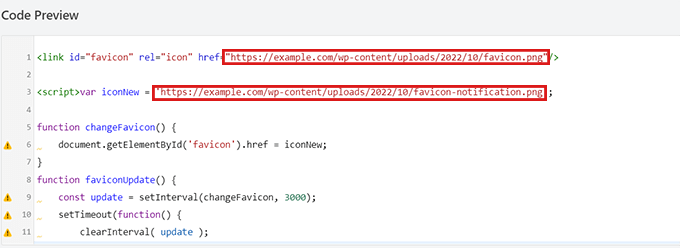
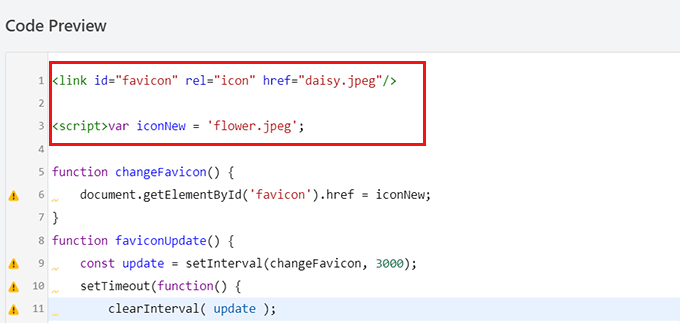
Remember, the images you choose as favicons should already be uploaded to the media library of your WordPress site.
Otherwise, the code will not work, and your favicon won’t change.
Once you have done that, scroll down to the ‘Insertion’ section.
You can choose the ‘Auto Insert’ option if you want to automatically embed the code on every page.

To change the favicon on only specific pages, select the ‘Shortcode’ option and paste it into any shortcode-enabled area, such as sidebar widgets or at the bottom of the content editor.
Next, go to the top of the page and toggle the switch from ‘Inactive’ to ‘Active’ in the top right corner, and then click the ‘Save Snippet’ button.
After that, your favicon will start changing as a browser tab notification.
Type 3: Changing Site Title as a Browser Tab Notification
This method is for you if you want to change the site title to recapture your visitor’s attention.
By using this code snippet, your site title will change to show an eye-catching message when users switch to another tab in the browser.
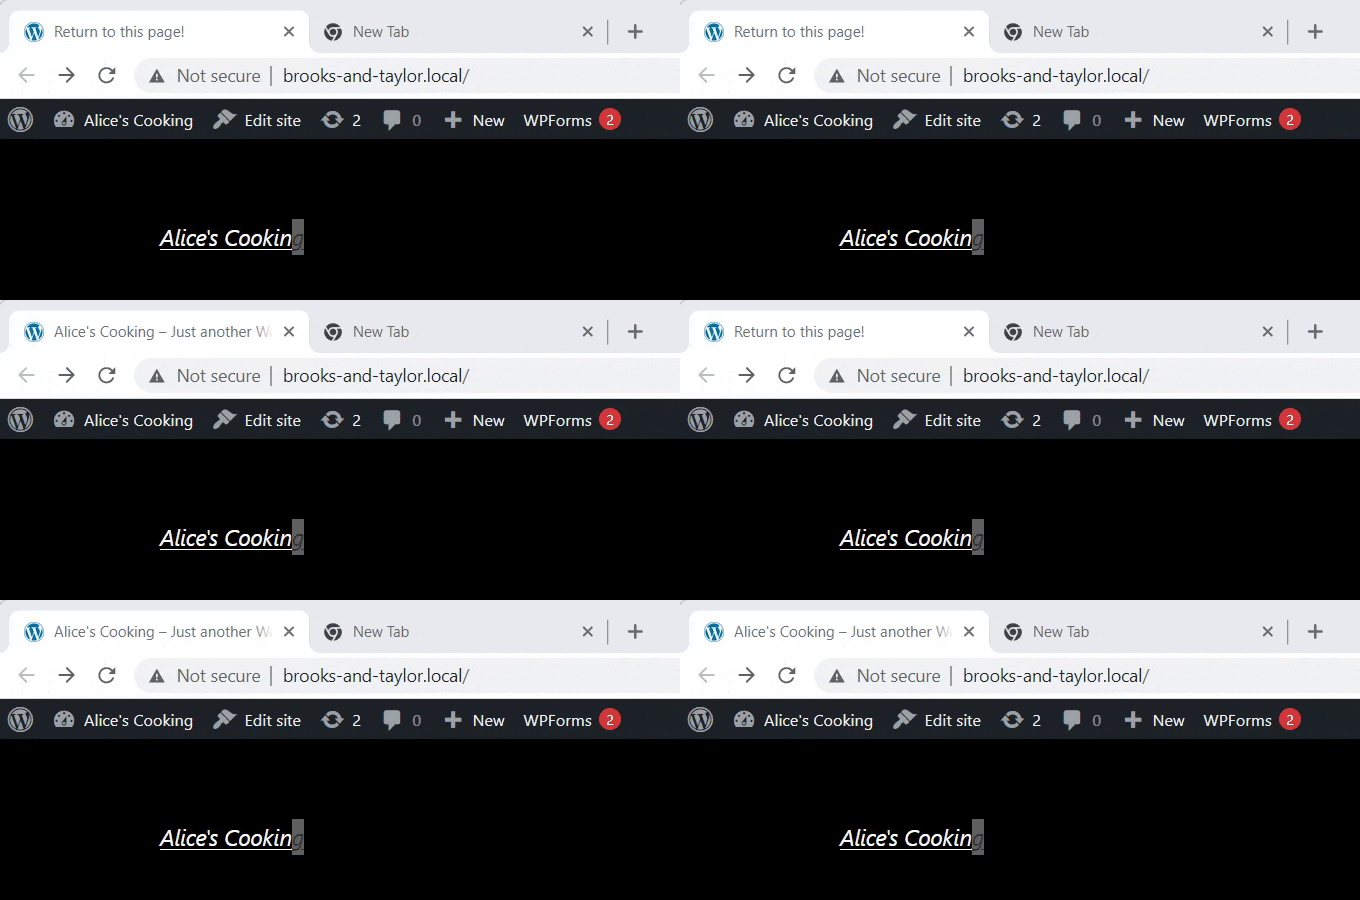
We will be using the WPCode plugin to change your site title as a browser tab notification.
To get to the ‘Create Custom Snippet’ page, visit the Code Snippets » +Add Snippet page from the admin sidebar and click ‘+ Add Custom Snippet’ under the ‘Add Your Custom Code (New Snippet)’ option.

Next, you need to select ‘JavaScript Snippet’ as the code type from the list of options that pop up on screen.
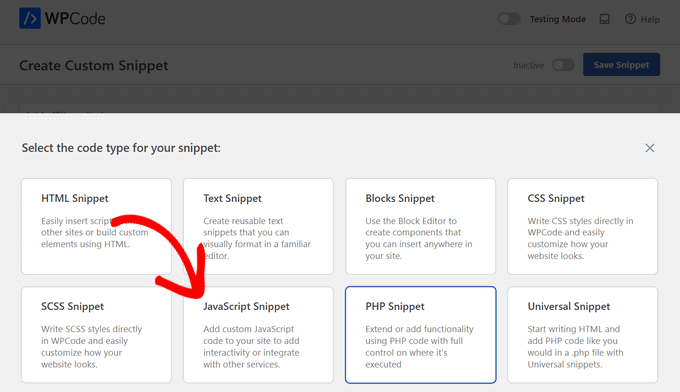
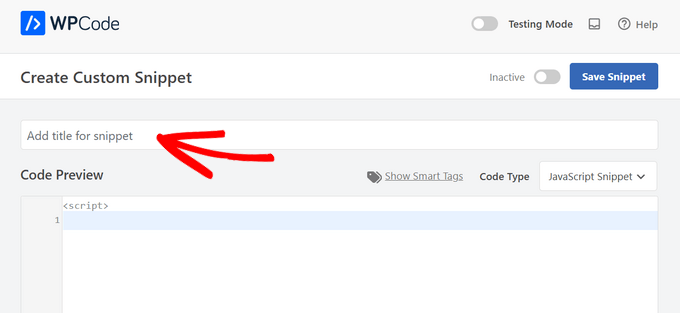
Now that you are on the ‘Create Custom Snippet’ page, start by entering a title for your code snippet. This can be anything to help you remember what the code is for.
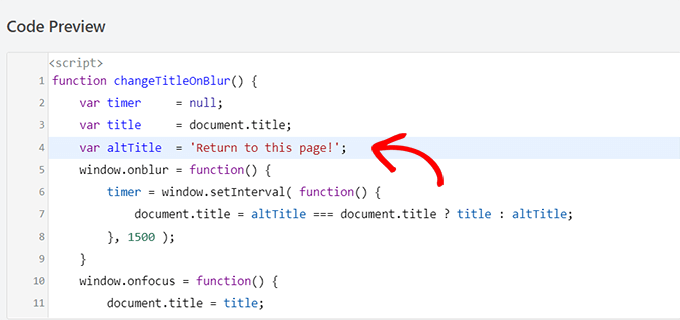
Then, all you have to do is copy and paste the following code snippet in the ‘Code Preview’ box:
function changeTitleOnBlur() {
	var timer     = null;
	var	title     = document.title;
	var altTitle  = 'Return to this page!';
	window.onblur = function() {
		timer = window.setInterval( function() {
			document.title = altTitle === document.title ? title : altTitle;
		}, 1500 );
	}
	window.onfocus = function() {
		document.title = title;
		clearInterval(timer);
	}
}

changeTitleOnBlur();
Once you’ve pasted the code, you can edit it and simply write whatever message you want to display on your browser tab in the code.
To write your desired message, simply go to the var altTitle = 'Return to this page!'; line and remove the placeholder text with the message for your browser tab notification.
Next, scroll down to the ‘Insertion’ section and choose the ‘Auto Insert’ mode to activate your browser tab notification on every page.
However, if you only want your eye-catching message on specific pages, you can choose the ‘Shortcode’ option.
For example, you might only want to add this code on the ‘Add to Cart’ page so that it can lower cart abandonment rates on your website.
If that is the case, you can choose the Shortcode option.
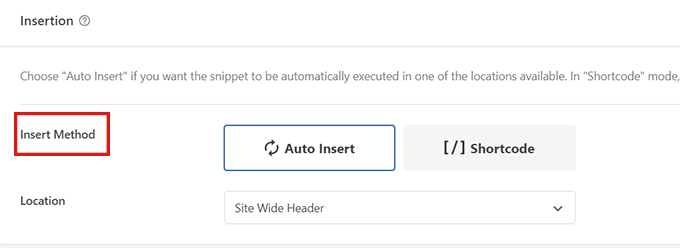
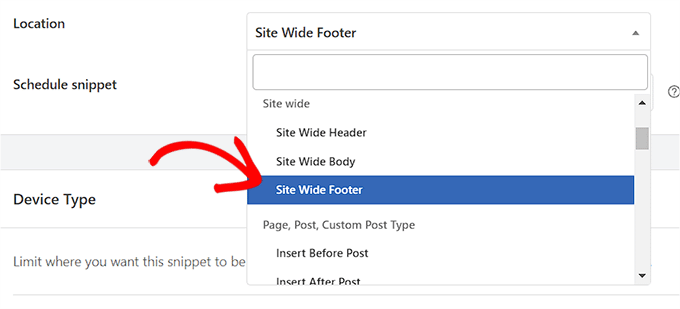
After that, scroll down to the ‘Location’ option and click on the dropdown menu next to it.
From here, select the ‘Site Wide Footer’ option.
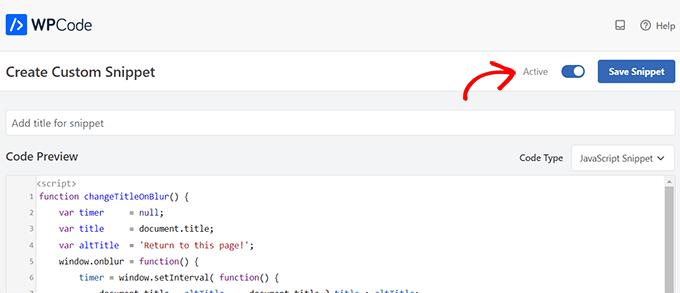
Finally, scroll back to the top of the page and toggle the switch from ‘Inactive’ to ‘Active’.
Then, then click the ‘Save Snippet’ button to store your settings.
That’s it! Now, your browser tab notification will alert users who leave your site.
Bonus: Add Web Push Notifications to Your WordPress Site
Another way to bring back visitors and lower cart abandonment rates is to send web push notifications to your users. These notifications are clickable short messages that are sent to your visitors even when they are not on your website.
You can easily do this with PushEngage, which is the best push notification software on the market.
It lets you automatically send new blog post notifications or custom messages and set up drip campaigns without any code.
The plugin also offers other features, such as premade templates, A/B testing, user segmentation, smart opt-in reminders, custom-triggered campaigns, and interactive message options.
You can use all these features to create abandoned cart notifications, schedule messages, and send price drop alerts, leading to more site traffic.
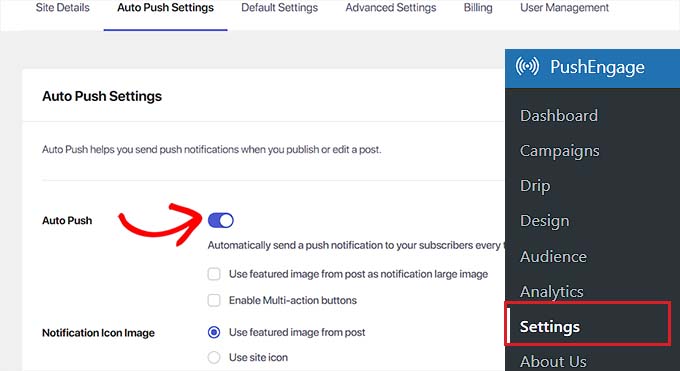
For more information, see our beginner’s guide on how to add web push notifications in WordPress.
We hope this article helped you learn how to add browser tab notifications in WordPress. You may also want to see our tutorial on how to add feature boxes with icons in WordPress and check out our top picks for the best WordPress jQuery plugins to grow your site.
If you liked this article, then please subscribe to our YouTube Channel for WordPress video tutorials. You can also find us on Twitter and Facebook.


Dennis Muthomi
I’ve implemented the favicon change method for several e-commerce clients, and it’s been particularly effective when combined with cart abandonment messages.
One tip I’d add is to A/B test different notification messages and timing intervals. We saw a 15% reduction in cart abandonment rates after testing and optimizing the timing to trigger at 45 seconds instead of the default 30. The WPCode implementation makes it easy to adjust these parameters for different client needs.
Jiří Vaněk
I noticed how well this works in apps like Messenger, where the browser tab shows a new message from someone you’re chatting with. From my experience, it works great. It’s really useful to know how to implement something similar in WordPress because it grabs attention and can significantly increase the time a user spends on the site. And the implementation in WordPress, according to this guide, isn’t complicated at all.
Carole
Is it possible to make the alternate tabs have a longer time between changes? I think that constant flashing would get annoying and people might just close out the tab.
WPBeginner Support
Yes, it would depend on the methods you were using, you would change the numbers that are in the thousands for the code snippets as those determine how many milliseconds to wait for the code.
Admin