There are many plugins that make it easy to accept payments in WordPress, but what about if you prefer to be paid in cryptocurrency? This is where a Bitcoin donation button can come in handy.
A Bitcoin donation button makes it easy for readers from around the world to support your blog or site with a couple of clicks. Plus, it’s pretty easy to set up on your website.
In this article, we will show you how you can easily add a Bitcoin donate button to WordPress, step by step.

Why Add a Bitcoin Donate Button to WordPress?
Bitcoin and other cryptocurrencies are becoming more popular online payment methods. As a result, many people prefer to pay and make donations with Bitcoin.
The easier you make it for your readers to donate, the more likely they are to support your WordPress blog.
By adding a Bitcoin payment button to WordPress, all it takes is a couple of clicks to receive a cryptocurrency payment. Once it reaches your wallet, you can transfer it out to your bank account or store it for the long run.
For many blogging niches, like technology blogs or gaming websites, offering readers the ability to donate with Bitcoin just makes sense.
Plus, it can be used from anywhere in the world, so it’s beneficial for bloggers and site owners with a worldwide audience.
With that said, let’s show you how to easily add a Bitcoin donation button to your WordPress site.
Getting Started With Bitcoin and Cryptocurrency
To let your visitors donate in Bitcoin, you need a payment processor that accepts cryptocurrency.
We recommend using NOWPayments since they are one of the top cryptocurrency payment processors. They have all the tools you need to easily receive Bitcoin, add donation buttons, and more.
Plus, if you want to expand beyond Bitcoin, you can let your users make donations in over 100+ other cryptocurrencies.
To set up your account, head over to the NOWPayments website and click the ‘Accept Crypto’ button.
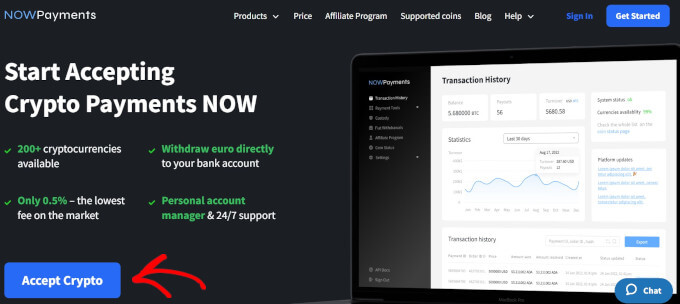
This takes you to the account creation page.
You need to enter your account information and click the ‘Create account’ button.
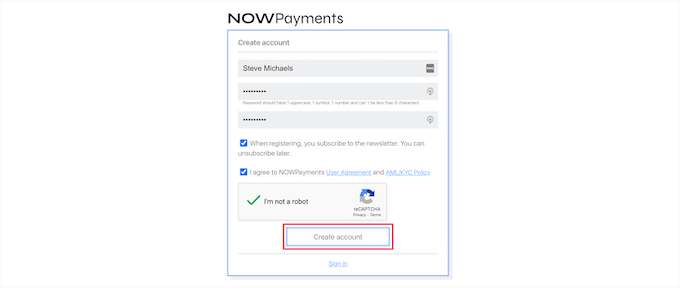
After that, you’ll get a notification that a confirmation email has been sent.
You need to verify your email, and then you’ll be able to log in to your account dashboard.

Create or Connect an Existing Cryptocurrency Wallet
If you don’t have a cryptocurrency wallet yet, then you’ll need to create one now. A wallet is a piece of software that lets you send, receive, and store your cryptocurrency safely.
Think of it like a traditional bank account, but it only holds cryptocurrency.
There are several different types of cryptocurrency wallets available. There are digital wallets for your computer, browser, and phone. There are even hardware wallets that look like a USB drive and offer better security.
You can use any kind of wallet you’d like, but for this tutorial, we will show you how to get started with the Coinbase Google Chrome wallet. It’s a simple browser extension that’s free and very easy to get started with.
Note: If you already have a cryptocurrency wallet, then you can click here to skip ahead to the next tutorial section.
The first thing you need to do is go to the Coinbase Wallet website and click the ‘Download Coinbase Wallet’ button.
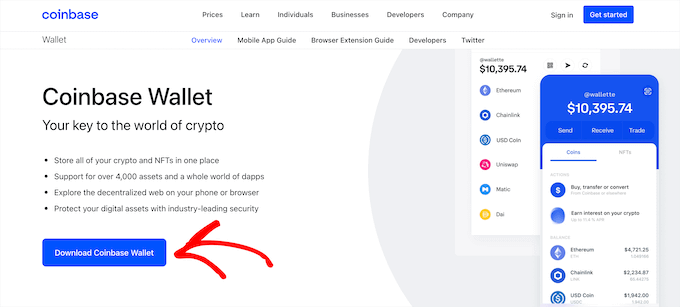
This brings you to the Chome web store.
You need to click the ‘Add to Chrome’ button, and it will install the wallet software in your browser.

After that, click the ‘Create new wallet’ button.
This will automatically create a new secure wallet to store your cryptocurrency.
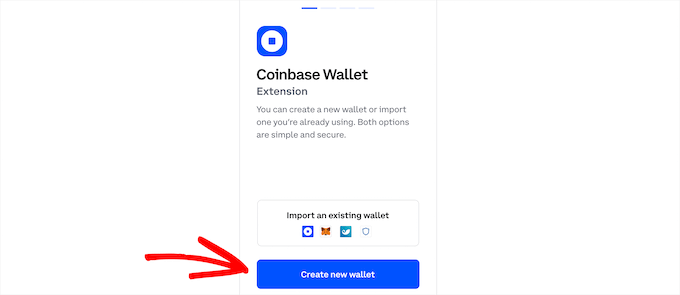
Next, give your wallet a username.
Then, click on ‘Submit’.
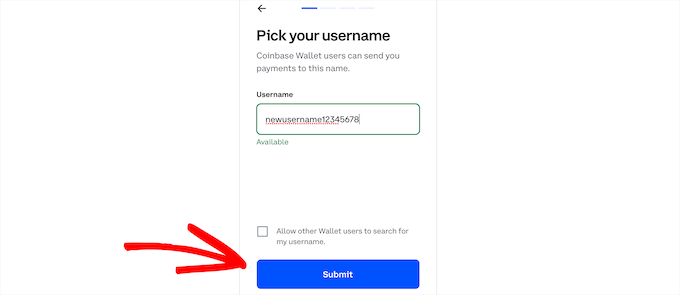
This brings up a recovery phrase. You’ll need to copy this to a safe location. Ideally, you should handwrite this down and store it in a safe place offline where it won’t get hacked, lost, or stolen.
Your recovery phrase is a series of 12 words that you need to access your crypto wallet. If you lose your recovery phrase, then you’ll lose access to your crypto wallet forever.
After that, click the ‘Continue’ button.
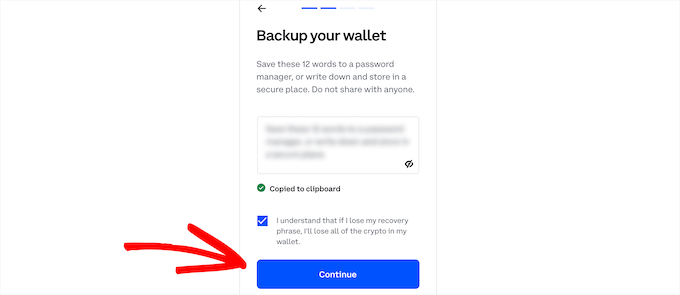
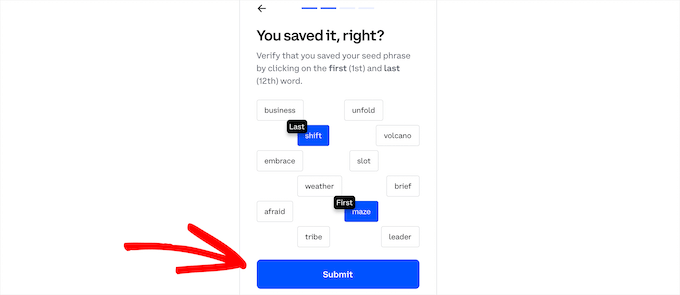
Then, you’ll need to verify your recovery phrase to prove that you copied it somewhere safe.
Simply click the first and last phrases and click on the ‘Submit’ button.
Next, you need to create a secure password for your wallet.
Then, click on the ‘Submit’ button.
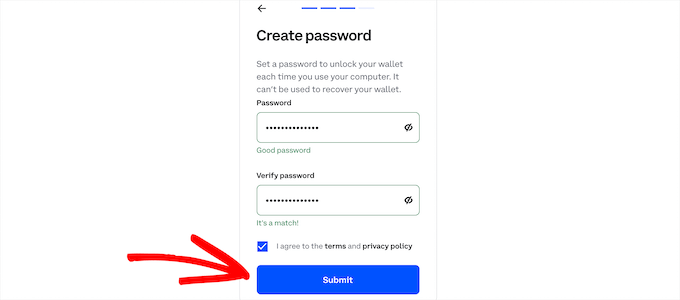
Congratulations, you’ve just created a cryptocurrency wallet.
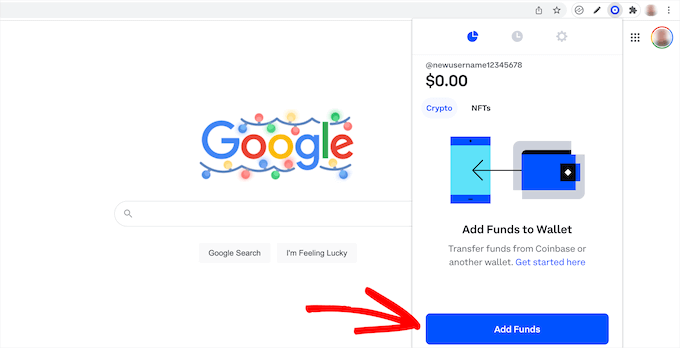
Now, click on the wallet extension in the top right-hand corner of your browser.

This brings up a popup that is your crypto wallet.
Next, click on the ‘Add Funds’ button.
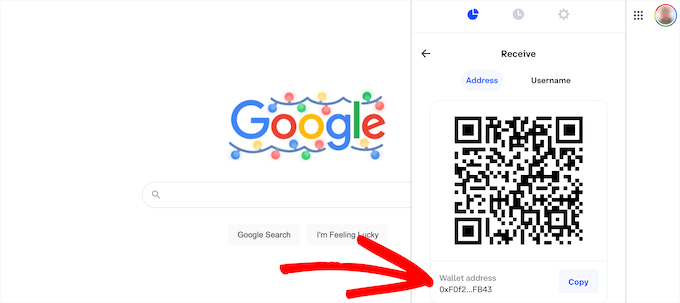
This will show you a QR code and your wallet address.
You need to click the ‘Copy’ button next to your ‘Wallet address’ and paste it into a text document.
You’ll need this in the next step so you can link your wallet with the cryptocurrency payment processor.
Connecting NOWPayments With Your Crypto Wallet
After your wallet is set up, you need to log in to your NOWPayments account dashboard.
In your account dashboard, select ‘BTC’ from the dropdown list and paste the wallet key you copied earlier.
Then, click the ‘Save’ button.

Below that, click on the ‘Add new key’ button to generate a new API key.
This API key will be for your new donation button.

Creating a Bitcoin Donation Button
Before you can add a donation button to your site, you need to create it first.
To do this, go to your NOWPayments account dashboard and then click the ‘Donations’ tab.
After that, scroll down to the ‘Choose the donation button style’ section.
Here, you can choose between two different button styles, ‘Black’ and ‘White’. The white button goes well with dark WordPress themes.

Then, choose the API from the dropdown menu. If you only generated one API, then it will automatically be selected.
Next, click the ‘Copy to clipboard’ button to copy the HTML code for your button. You might want to paste this into a text document to have it ready for the next step.

Adding a Bitcoin Donation Button to Your WordPress Site
Now, you’re ready to add the Bitcoin donation button to your WordPress website. Since it’s simple HTML, you can easily add it anywhere on your site.
First, we will add it to a page on your website. Simply create a new page or edit the page where you want the button to appear.
Then, click the ‘+’ add block icon, search for ‘HTML’, and click the block.
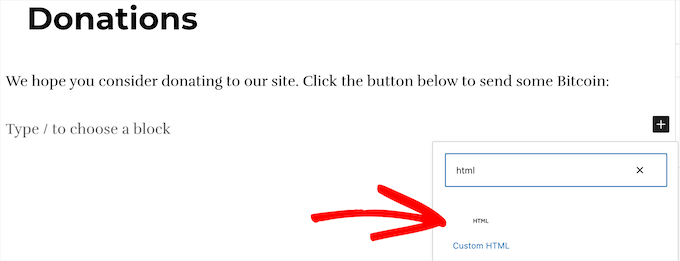
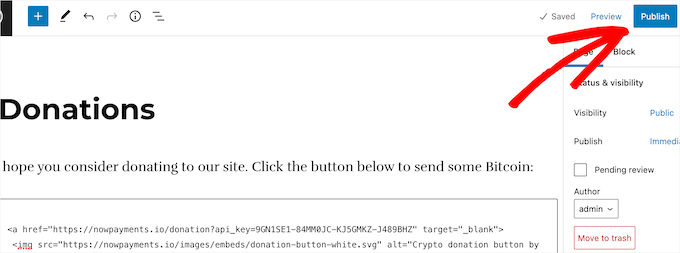
After that, you need to paste the code that you copied earlier.
Then, click the ‘Publish’ or ‘Update’ button to save your page.
Now, you can visit your website to see your Bitcoin donation button live.
This is what it looks like on our demo website.
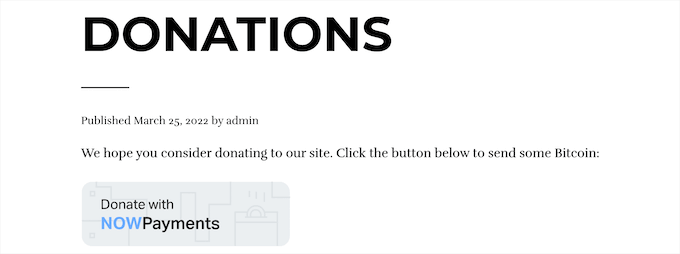
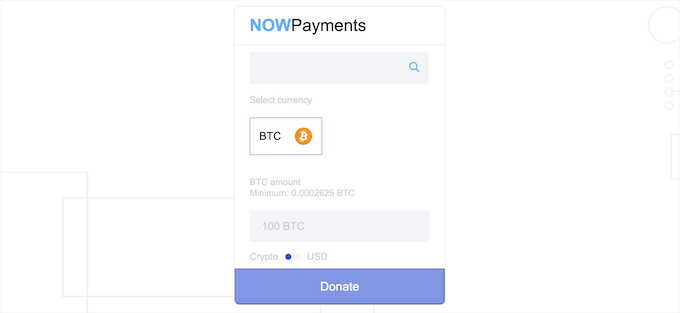
When your users click the button, they’ll be taken to the NOWPayments site.
Here, they can donate in Bitcoin.
Some other great locations to add a donation button are your about page, website footer, and your contact page below your contact form.
Adding a Bitcoin Donation Button to Your WordPress Sidebar
You can also add a donation button to your WordPress sidebar so it’s always visible to your visitors no matter what page they are on.
To do this, navigate to Appearance » Widgets in your WordPress admin dashboard and then click the ‘+’ add block icon.
Then, search for ‘HTML’ and click on the block.

Next, just like above, paste your HTML code into the block.
Then, click the ‘Update’ button to save your changes.

Now, you can visit your website to see the cryptocurrency donation box in your WordPress sidebar. You can also add the button to any widget area of your website.
To learn more, see our guide on how to add and use widgets in WordPress.

Keep in mind that you won’t have access to widget areas if you are using a block theme. In that case, you can see our complete guide on how to use the WordPress Full Site Editor.
More Guides to Make Money in WordPress
Accepting Bitcoin donations in WordPress is just one way to make money. Here are some other options:
- 30 Proven Ways to Make Money Online Blogging with WordPress
- 27 Low Cost and Easy Online Business Ideas that Make Money
- How to Create a Recurring Donation Form in WordPress (Step by Step)
- How to Add a PayPal Donate Button in WordPress (3 Methods)
- How to Add Stripe Donate Button in WordPress (with Recurring Option)
- How to Make Money Using AI (8 Easy Ideas)
We hope this article helped you learn how to add a Bitcoin donation button in WordPress. You may also want to see our guide on how to start a WooCommerce store and our expert picks of the best donation and fundraising WordPress plugins.
If you liked this article, then please subscribe to our YouTube Channel for WordPress video tutorials. You can also find us on Twitter and Facebook.


Jiří Vaněk
I started with Bitcoin during the Covid era (2021 I thing) when it was just a “few” dollars. Since I have a technology blog, I thought it would be nice to have donations via PayPal and also using Stripe. However, it’s true that technology blogs attract big fans of new technologies, so why not make potential donations easier using cryptocurrencies. It’s great that this method isn’t just about Bitcoin because I am also a big fan of Ethereum. Thanks for the guide, I will definitely try to implement it on my website and hopefully, it will work out and be worth it. I’m quite excited to see how and if it will work as I envision.
Adrian
This is great. Thank you for the information. But can you allow people to donate an amount of their choosing? I tried but it doesn’t work.
WPBeginner Support
Yes you can do that.
Admin