Are you looking for a Bloom review, to help you decide whether it’s the right WordPress opt-in plugin for you?
Bloom can help you collect leads and grow your email list through targeted opt-ins. You can show these forms on specific pages and posts, or in response to visitor actions such as posting a comment or buying a product.
In this Bloom review, we’ll take a closer look at this popular opt-in and lead generation plugin, to see whether it’s right for you.
Bloom Review: Why Use It in WordPress?
Bloom is a popular email opt-in and lead generation plugin that can turn your website’s visitors into loyal followers and customers. Simply connect Bloom to your email marketing service, and anyone who completes a Bloom opt-in will get added to your mailing list.
With this plugin, you can design multiple opt-in types including popups, fly-ins, and inline forms. It also comes with over 100 ready-made templates that you can customize to perfectly fit your company or personal branding.
Bloom supports 6 triggers so you can show your opt-ins to the right people, at exactly the right time. For example, if you run a WooCommerce store then you might display an opt-in when the customer buys a product.
Alternatively, you might trigger an opt-in after the visitor scrolls a certain percentage of the page. In this way, you can give visitors a chance to read your great blog post, before asking them to join your email list.
Bloom Review: Is It the Right WordPress Opt-in Plugin for You?
Over 70% of first-time visitors will never return to your website. That said, collecting an email address is the best way to keep in touch with these people, and convince them to visit again.
With that in mind, let’s see if Bloom is the right email capture tool for your WordPress website.
1. Supports 19 Email Marketing Services
Before you can use Bloom to grow your mailing list, you’ll need to connect it to your email marketing provider or newsletter software.
Thankfully, Bloom integrates with 19 different email services, including Constant Contact, Active Campaign, Aweber, and MailerLite.

After making this connection, Bloom can add subscribers to the various lists within your email account. In this way, you can grow your mailing list with ease.
2. Over 100 Templates
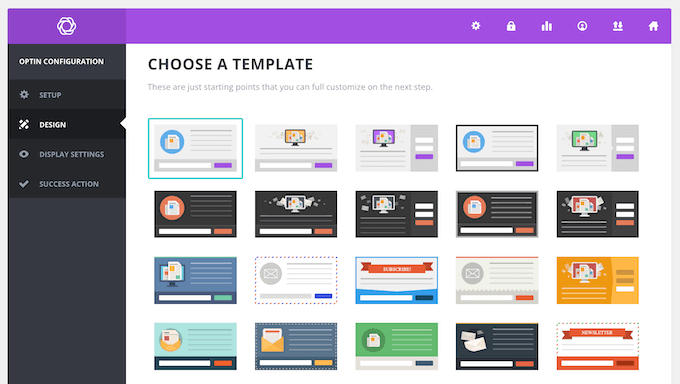
Bloom has over 100 ready-made templates that you can use as a starting point for your designs.
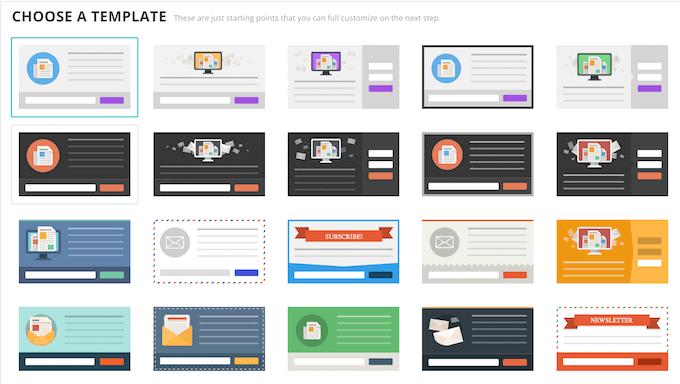
All these templates are fully customizable, so you can fine-tune them using Bloom’s settings.
After choosing a base template, Bloom will open a ‘Design’ tab where you can add your own title and messaging, choose a load-in animation, change the color scheme, and much more.
3. Completely Customizable Designs
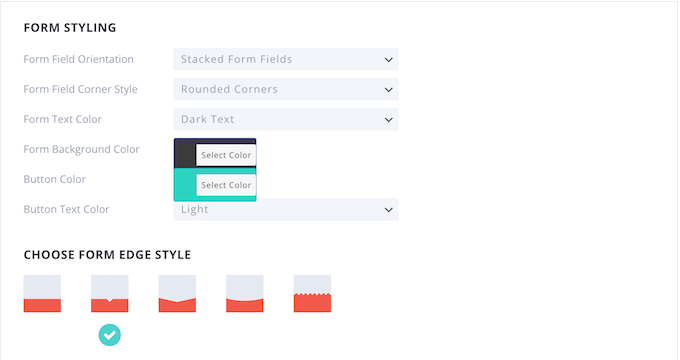
Bloom’s opt-ins are fully customizable, so you should have no problems fine-tuning them to perfectly fit your brand or WordPress theme. For example, Bloom lets you choose between bottom, right, and left orientations.
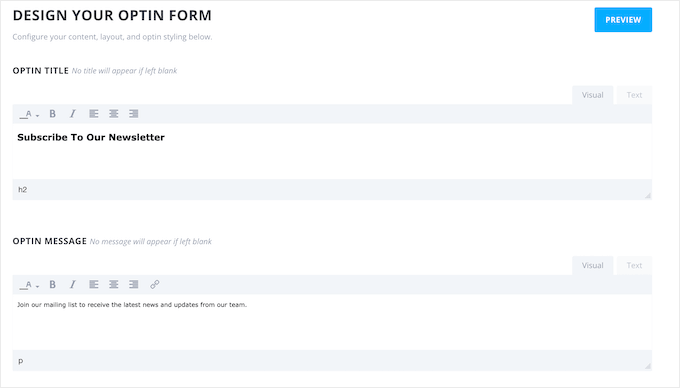
You can also add your own images and choose a unique color scheme.
Beyond that, you can change the border, for example you can choose a jagged or straight style.
4. Mobile Responsive Opt-Ins
According to our internet usage statistics, mobile internet traffic accounts for almost 55% of total web traffic. With that said, if your opt-ins aren’t mobile responsive then you’re missing out on lots of subscribers.
The good news is that Bloom is fully mobile friendly, so it will resize your opt-ins automatically for smaller screens.
5. Automatic Opt-In Popups
Bloom can create a lightbox popup containing your opt-in form. These popups are impossible to ignore, so they’re a great way to catch the visitor’s attention.
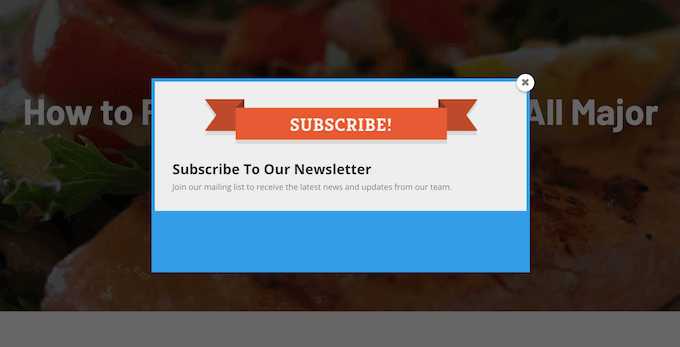
You can choose between 10 different popup animations, to make your opt-in even more attention-grabbing.
When you’re happy with how the popup is set up, you can trigger it based on unique user interactions. For example, you might display the popup when the visitor reaches the bottom of the page or post, or after a timed delay.
Alternatively, you can wait until the visitor has reached a certain scroll depth. In this way, you can give visitors a chance to read your content before opening the popup.
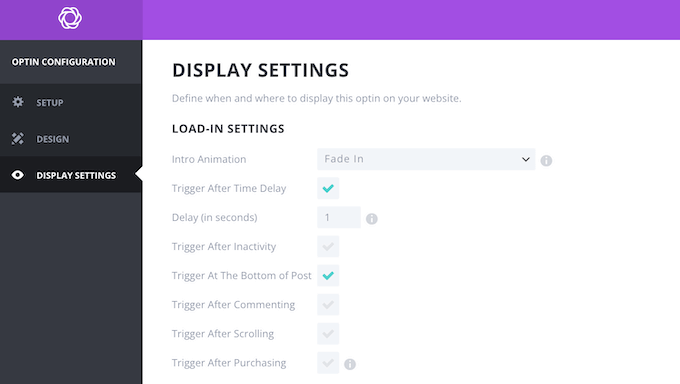
You can also show the opt-in after the visitor posts a comment or makes a purchase. These actions suggest the visitor is engaged with your content, so it’s often the perfect time to display an opt-in.
Finally, if a user has been inactive for a period of time, then Bloom can show them a popup. This can be an effective way to catch their attention, and get them to re-engage with your content.
6. Automated Fly-Ins
Instead of creating a lightbox popup, you can use Bloom to create a fly-in. This is a smaller form that slides up from the bottom corner of the page.
Since they’re more subtle than popups, fly-ins are a good way to grab the visitor’s attention without completely distracting from the page content.
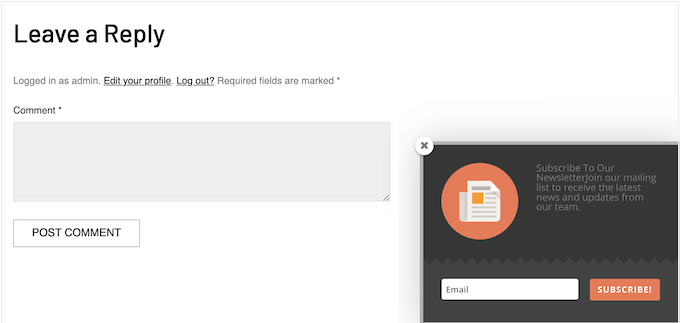
Just like pop-ups, you can trigger these fly-ins based on user interactions. For example, you can show them after a timed delay, or wait until the visitor scrolls a certain percentage of the page.
You can also show the fly-in after the user posts a comment or completes the checkout process. For example, you might offer the customer a coupon code for their next purchase, if they subscribe to your email newsletter.
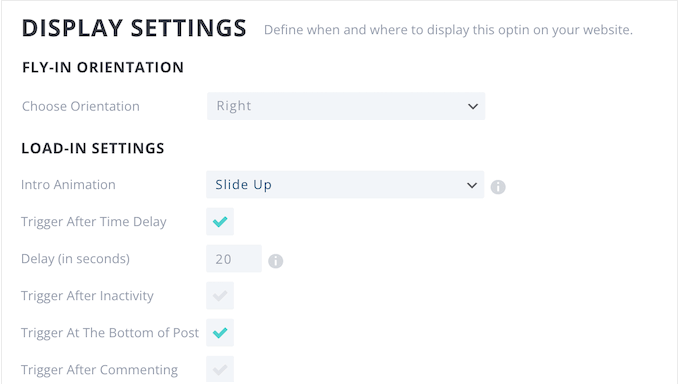
Alternatively, you can wait until the reader reaches the bottom of the page, or trigger the fly-in after a period of inactivity.
7. In-line Opt-In Forms
Sometimes, you may want to show specific opt-ins on certain pages. For example, you might design an opt-in for a particular sales page or landing page.
With Bloom, you can create as many inline opt-in forms as you want, and then add them to individual pages or posts.
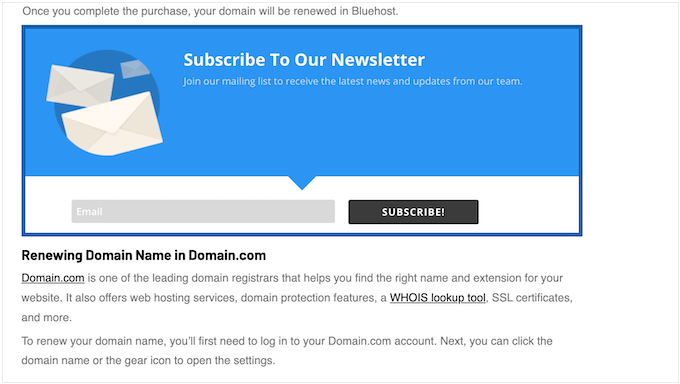
8. Below Content Opt-In Forms
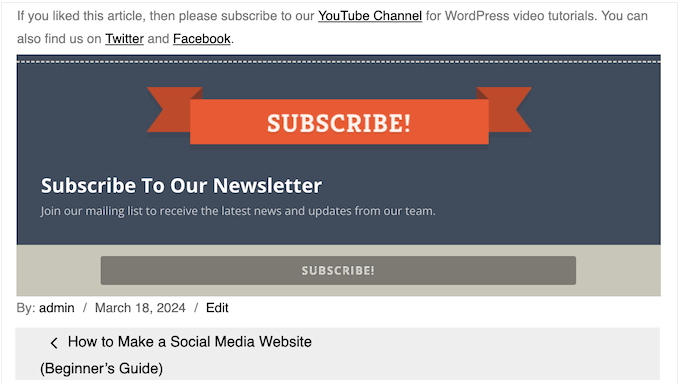
Bloom can place opt-in forms at the bottom of all your posts and pages, across your entire WordPress website.
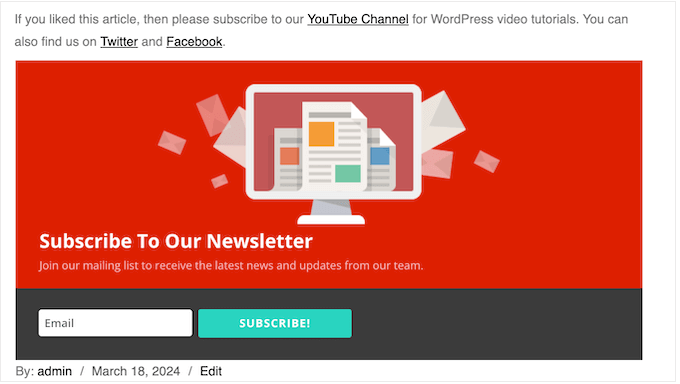
Below content opt-ins work particularly well for WordPress blogs, as the visitor can read the entire post and then get the option to subscribe to your blog updates.
9. A Ready-Made Bloom Widget
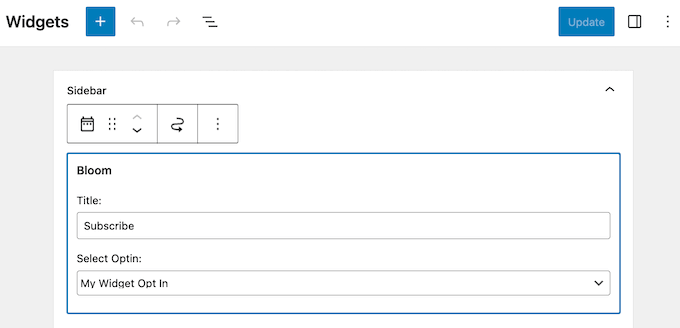
Bloom can also display your opt-ins as a WordPress widget. This allows you to add an email newsletter or similar opt-in to your site’s footer, sidebar, or any other widget-ready area.

This is an easy way to display an opt-in across your entire site, blog, or online marketplace.
Simply add the ‘Bloom’ widget to your site, and then choose the opt-in you want to display.
10. Content Locking
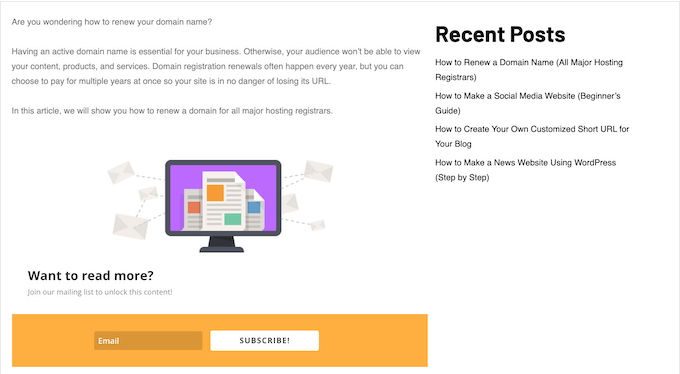
Gated content is a great way to grow your email list. With Bloom, it’s easy to place your site’s best content behind an opt-in, so visitors must subscribe in order to see it. Simply create a locked content opt-in in Bloom’s dashboard, and then tell it to generate a shortcode.
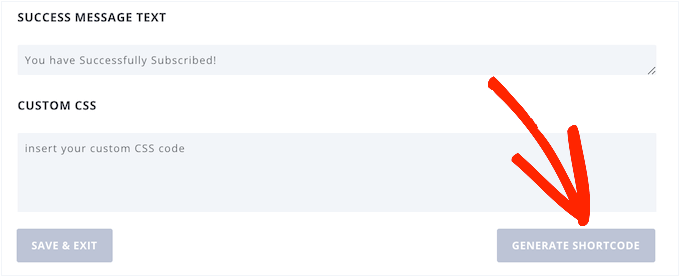
With that done, you can go ahead and add this shortcode to your content.
This locked content won’t appear in the search engine results, so you don’t need to worry about non-members seeing your premium posts.
11. Detailed Display Settings
With Bloom, you can display the same opt-in across your entire website, blog or online store. However, it also allows you to create targeted opt-ins. To start, you can display different forms for different types of content, such as blog posts and pages.

Alternatively, you can create a completely unique opt-in for a specific page, such as your highest converting landing page. Simply select the page in the plugin’s settings, and your opt-in will appear on that page only.
You can also exclude specific pages and posts, so the visitor doesn’t get distracted by an opt-in at the wrong moment. For example, if you run an online store then you’ll typically want to remove opt-ins from your WooCommerce cart and checkout pages.
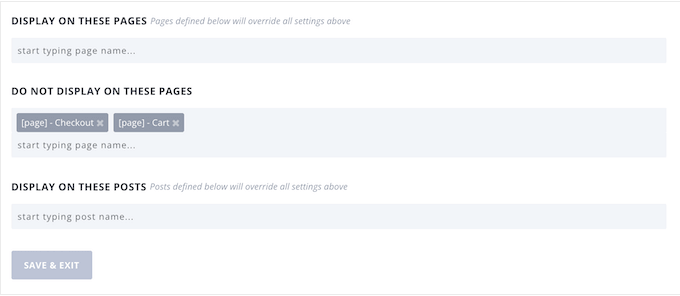
As you can see, Bloom allows you to create as many opt-ins as you want and then control exactly where they appear on your site. This allows you to create targeted opt-ins for specific campaigns, sales pages, digital downloads, physical products, and any other content.
12. Centralized Opt-In Dashboard
Bloom allows you to create as many accounts, lists, and forms as you want. To help you manage these different components, it also provides a centralized dashboard.
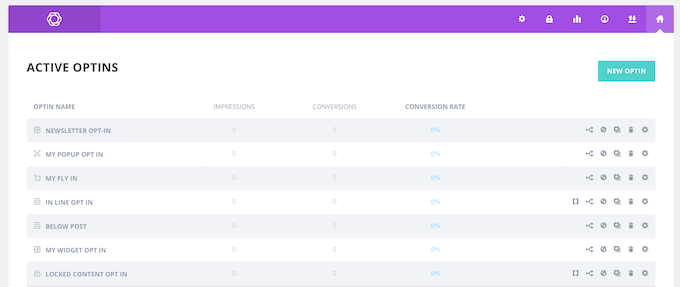
Here, you can organize your accounts by provider, and arrange your lists based on the linked account. In this way, you should have no problems managing your campaigns, even if you’re using a ton of different accounts, lists, and opt-ins.
13. Conversions and Email Statistics
To grow your email list and improve your conversion rates, it’s important to monitor what’s working well, and what isn’t working. You can use this insight to improve your future opt-ins, or change your display settings to show the best opt-in, at the best time.
While we always recommend using an analytics solution such as Google Analytics, Bloom also displays useful statistics directly in the WordPress dashboard.
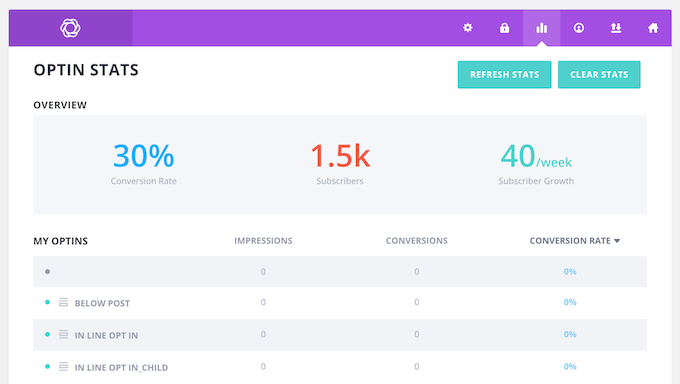
14. A/B Opt-In Testing
To get the best results from your opt-ins, you may want to set up A/B testing. Bloom’s split testing feature allows you to create multiple variations and then show them to different visitors. For example, you might test different headlines, call to action buttons, or colors.

You can create as many variations as you want, and track their conversion rates directly in the Bloom dashboard.
When you’re happy with the results, simply end the test and Bloom will display a list of all your variations, ranked by performance. With that done, just select the variant you want to use, and Bloom will show this winning variant to all future visitors.
15. Import and Export Social Settings
Do you manage multiple websites? For example, you might run a WordPress multisite network or manage several client websites.
In that case, you might want to use the same Bloom settings across all your sites. The good news is that you can easily export your settings as a .json file, and then import them into any other website that has Bloom installed.
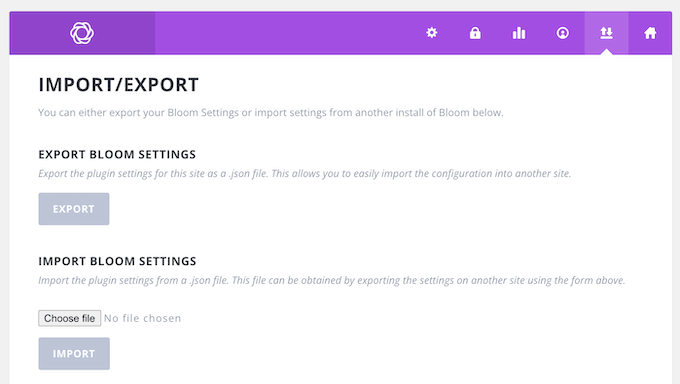
This is also an easy way to backup your Bloom settings, so you can easily restore them if something goes wrong.
16. Community and Professional Support
With Bloom, you can create high-converting opt-ins using ready-made templates and a user-friendly editor. You can then control exactly where these opt-ins appear across your website, blog, or online marketplace.
That said, Bloom is very easy to use. However, sometimes you may need some extra help, in order to do lead generation like a pro.
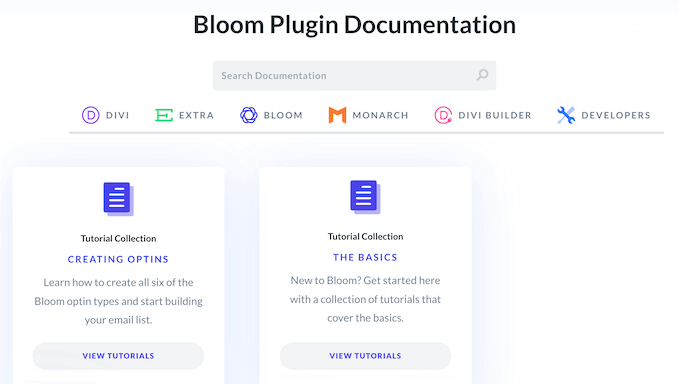
To start, there’s detailed online documentation where you’ll find guides on how to install and activate Bloom, plus information about the plugin’s major features.
There’s also an Elegant Themes blog where they cover a range of topics that can help grow your email list. For example, they have guide on how to get started with email blasts, plus Elegant Themes’ expert pick of the best best AI content generators for email marketers.
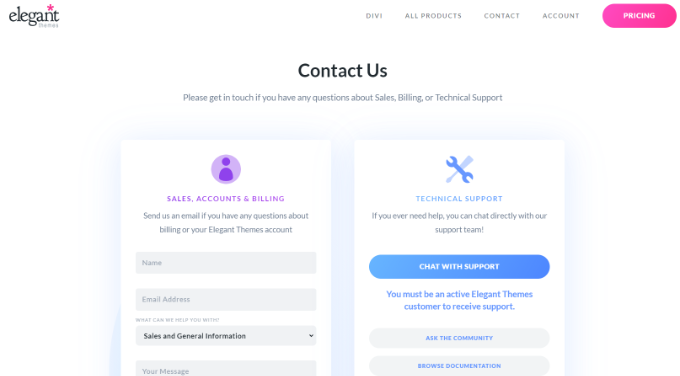
If you prefer one-on-one help, then you can reach out to a customer support agent or resolve your problems through Elegant Themes’ live chat.
Bloom Review: Pricing and Plans
Unlike some other lead generation and popup plugins, Bloom comes as part of a plugin bundle. These Divi bundles include Bloom, Monarch, and Extra, plus the Divi drag and drop page builder and multipurpose theme.
For more information about Divi builder, please see our detailed Divi review.
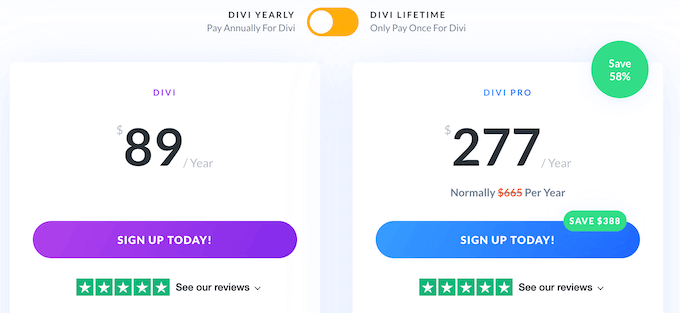
Do you want to try Bloom and the other Elegant Themes products before you buy? Then they’re offering a free 30 day trial. After that, there are a few different plans you can choose from:
- Divi. For $89 per year, you can use Bloom, Monarch, and the other products on an unlimited number of websites. In addition, this Divi plan comes with 300+ website packs, so it’s ideal if you’re creating a new WordPress website, or redesigning an existing site.
- Divi Pro. Priced at $277 annually, this plan includes Bloom, Monarch, and Divi, plus the other Elegant Themes products. It also adds artificial intelligence features and unlimited cloud storage. For more information, please see our complete Divi review.
Bloom Review: Is It the Right WordPress Opt-in Plugin for You?
After looking at the features, pricing, and support options, we’re confident that Bloom is a great opt-in plugin. With this WordPress plugin, you can create an unlimited number of opt-ins and then add them to any page, post, or widget-ready area.
You can create unique opt-ins for specific pages, such as your site’s homepage or a particular Google Ad landing page. Alternatively, Bloom can automatically add the same opt-in to all your pages and posts, or a widget-ready area such as the sidebar.
Bloom also supports multiple triggers, so you can show the right opt-in at exactly the right time.
Unlike some other opt-in plugins, Bloom is included in the Divi plugin bundle. You can buy an annual license or make a one-time, lifetime purchase and get access to Bloom, Monarch, Extra, and the Divi page builder.
We hope this Bloom review helped you decide whether it’s the right opt-in plugin for you. You can also check out our guide on how to increase your blog traffic, or see our expert pick of the best web push notification software.
If you liked this article, then please subscribe to our YouTube Channel for WordPress video tutorials. You can also find us on Twitter and Facebook.


Bloom User Reviews
Please share your Bloom review to help others in the community.