Keeping your website content fresh and engaging can be time-consuming, but adding your Instagram feed with WordPress can help streamline this process.
Automatically posting new Instagram photos to your WordPress site ensures that your latest content is always on display, keeping your site dynamic and interactive. This improves the visual appeal of your website, increases brand exposure, and even drives more traffic to your Instagram account.
Over the years, we have used various social media strategies to improve traffic on our website. It has helped us learn how to effectively use platforms like Facebook, Twitter, and Instagram to connect with our audience.
In this article, we will show you how to automatically post new Instagram photos to WordPress, step by step.
Why Post Instagram Photos to WordPress?
Instagram has over 2 billion monthly active users, and it allows people to share videos and images on the social media platform. It even lets people discover new user accounts based on what they already like.
If you already have a WordPress website and just started using Instagram, then you can easily gain more followers by posting your new Instagram photos on your website.
This can help you build social proof by showing that you are active on Instagram and interact with your audience on the platform. It can also increase the amount of time visitors spend on your site.
That being said, let’s take a look at how to easily and automatically post new Instagram photos to WordPress. You can use the quick links below to jump to the different methods:
Method 1: Add Instagram Photo as a New Post in WordPress
This method is for users who want to create a new blog post showing their latest Instagram photo.
This means that every time an Instagram post from your account goes live, a blog post featuring it will be published automatically.
You can easily do this using IFTTT (If This Then That), which is a powerful tool that lets you automate your WordPress site with social media.
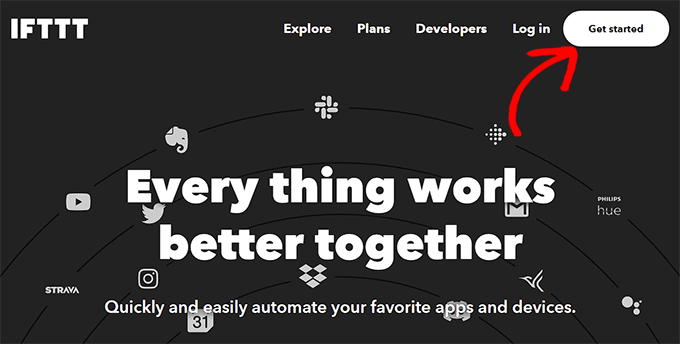
First, you need to visit the IFTTT website and click on the ‘Get Started’ button in the top right corner of the screen.
After that, you have to log in or create a new account on the website.
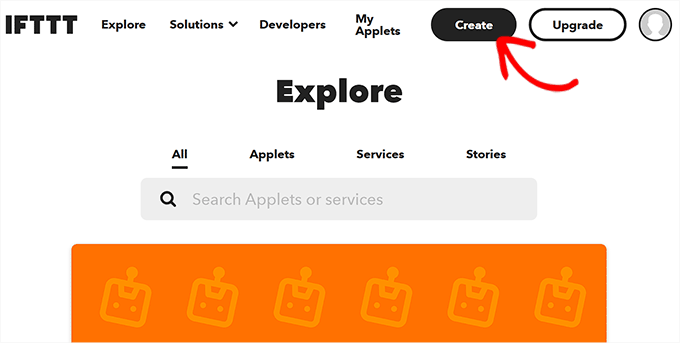
Once you’ve done that, just visit your IFTTT dashboard and click the ‘Create’ button in the top right corner to start building an applet.
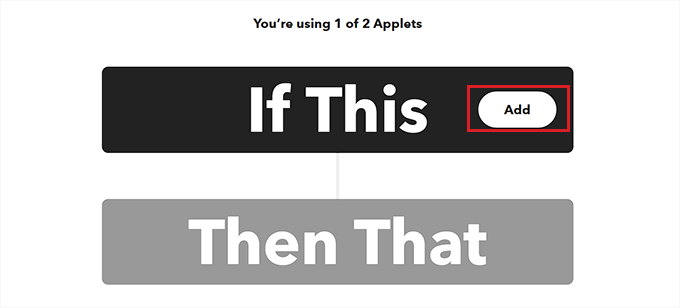
This will take you to a new page where you have to configure the trigger and action settings.
You can start by clicking on the ‘Add’ button next to the ‘If This’ option.
You will then be directed to the ‘Choose a service’ page, where you must select a platform for the trigger.
If you want to publish a blog post every time a new photo is uploaded to your Instagram account, then you will have to select Instagram as the service.
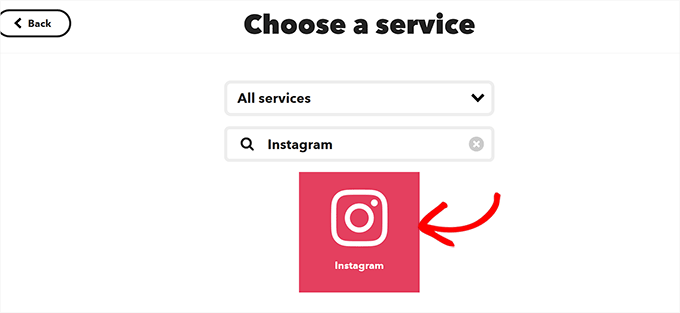
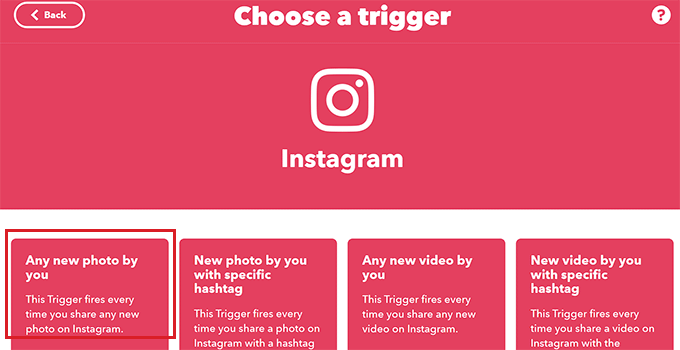
This will take you to the ‘Choose a trigger’ page.
From here, simply choose the ‘Any new photo by you’ option as the trigger.
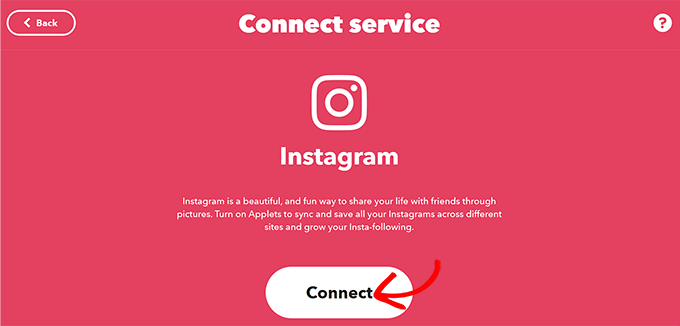
You will now be taken to the ‘Connect Service’ page, where you can connect your Instagram account to IFTTT.
To do this, just click the ‘Connect’ button.
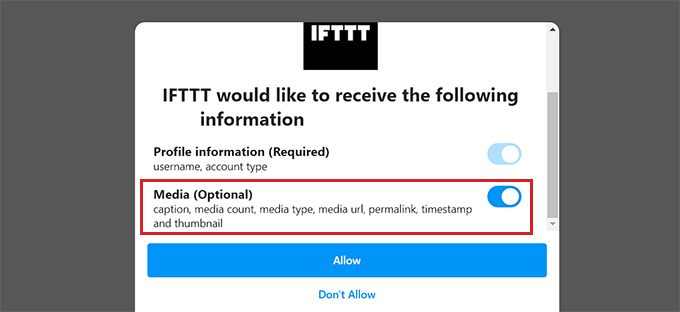
This will open an Instagram prompt in a new window where you have to log in to your account.
Once you do that, IFTTT will ask for permission to receive media information from your Instagram account. Simply toggle on the ‘Media’ switch and click the ‘Allow’ button.
You will now be redirected to the IFTTT page, where your Instagram account has been connected.
From here, click the ‘Create trigger’ button to complete the process.
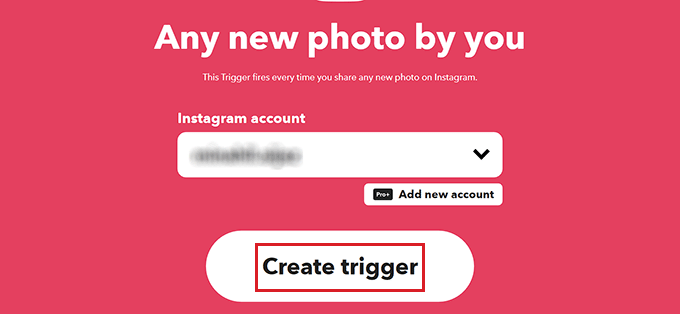
Now that your trigger has been created, it’s time to create the action. This is what will happen after the trigger occurs.
To do this, click the ‘Add’ button next to the ‘Then That’ option.
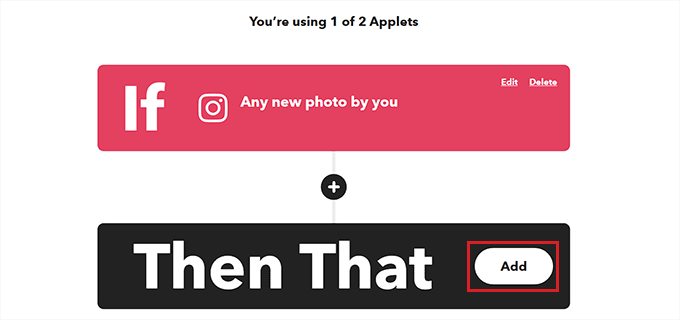
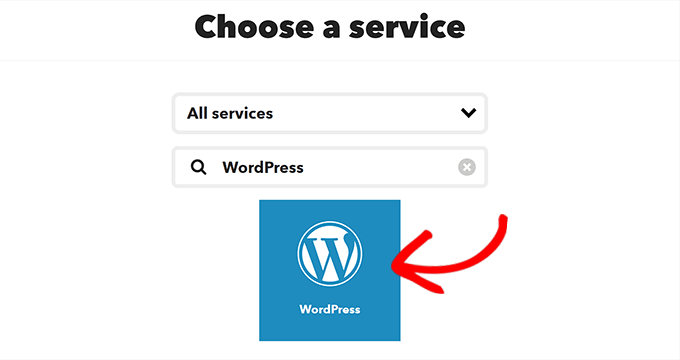
You will again be directed to the ‘Choose a service’ page.
This time, find and select WordPress as your service.
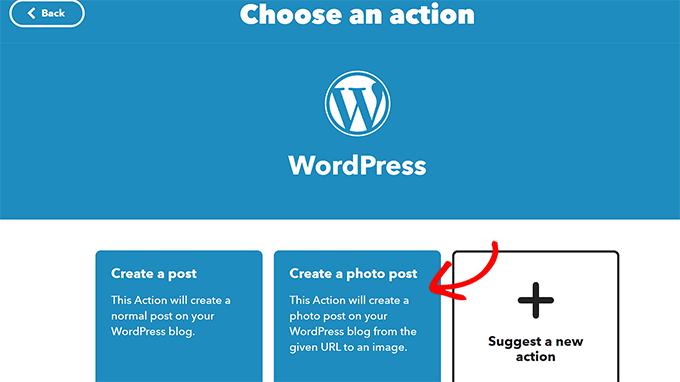
Now, you will be taken to the ‘Choose an action’ page, where you have to select an action that your website will take once the trigger happens.
From here, select the ‘Create a photo post’ option as the action.
This will take you to a new page where you must add your website URL and login details to connect it with IFTTT.
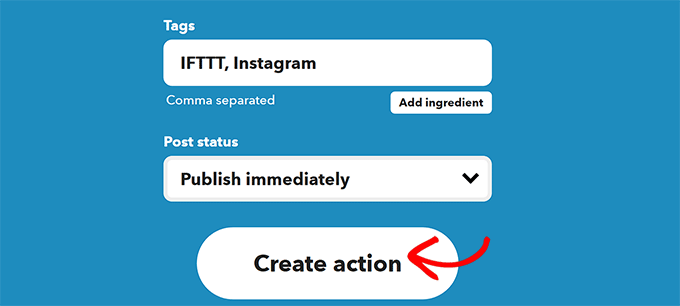
Once you have done that, simply click the ‘Create action’ button at the bottom of the page.
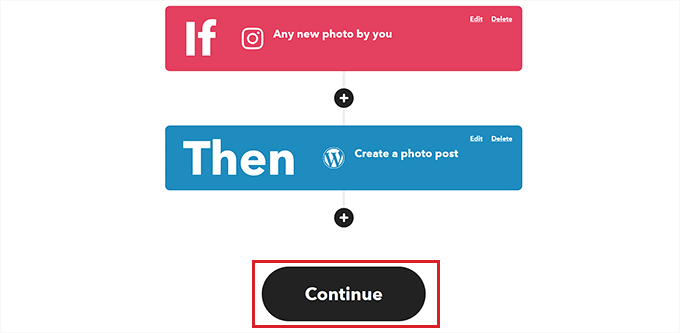
You will now be directed to the new screen, where you can see the trigger and action that you created using IFTTT.
You can also edit these actions by clicking on the ‘Edit’ link. However, if you don’t want to make any changes, then simply click the ‘Continue’ button.
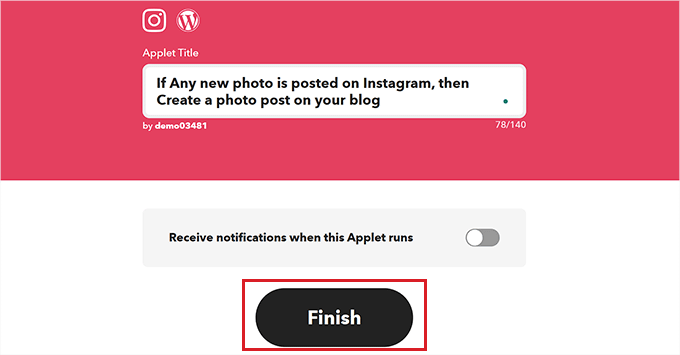
You will then be taken to a new screen where you can change your applet title and toggle the switch to receive a notification every time this applet is used.
Finally, click the ‘Finish’ button.
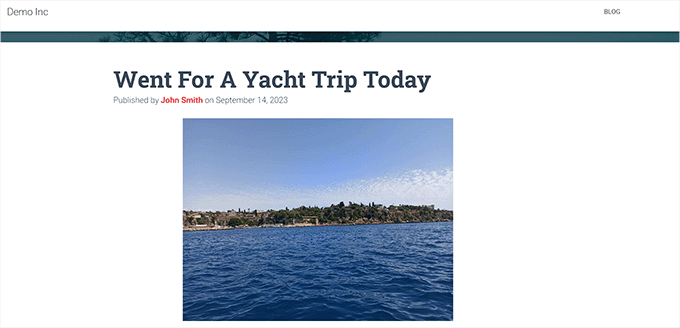
You can now post a new photo to your Instagram account, and it will be automatically posted to your WordPress site.
This is what it looked like on our demo WordPress blog.
Method 2: Display Your Instagram Feed on Your WordPress Site
This method is for users who just want to show their Instagram feeds on their websites without creating new WordPress posts.
You can easily do this using the Instagram Feed plugin by Smash Balloon. It is the best WordPress Instagram plugin that allows you to easily add your Instagram feed to any page or post.
You don’t even need an access token to embed the feed of your Instagram images and reels.
First, you need to install and activate the Instagram Feed plugin. For more details, see our step-by-step guide on how to install a WordPress plugin.
Note: The Instagram Feed plugin also has a free plan. However, we will be using the pro version for this tutorial as it has more customization options.
Upon activation, go to the Instagram Feed » Settings page from the WordPress admin sidebar to enter your license key.
You can find this information in your account on the Smash Balloon website.
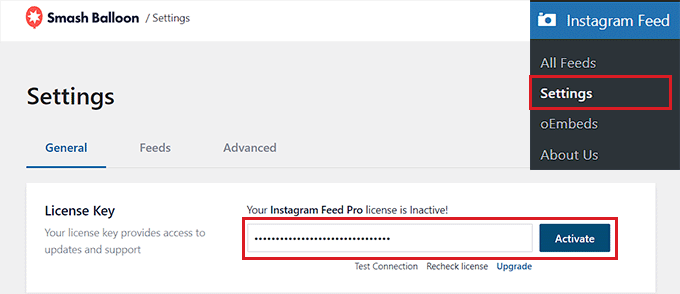
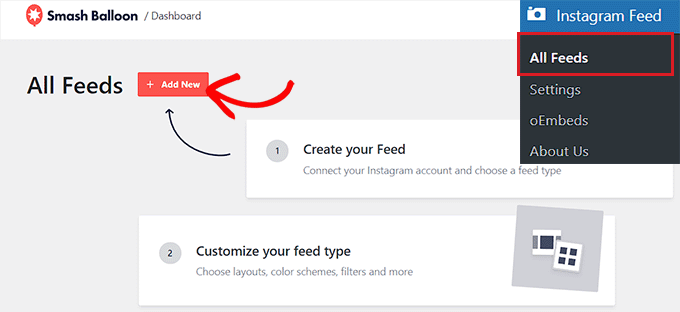
Once you have done that, visit the Instagram Feed » All Feeds page from the WordPress dashboard.
Here, click the ‘+ Add New’ button to start embedding your Instagram feed.
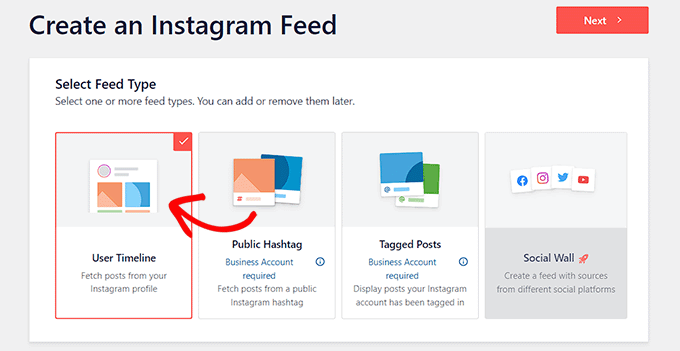
You’ll now be directed to the ‘Create an Instagram Feed’ screen, where you must select the ‘User Timeline’ option as the feed type.
This means that Smash Balloon will now directly fetch posts for the feed from your Instagram account and update the feed automatically once you post new photos.
After that, click the ‘Next’ button to continue.
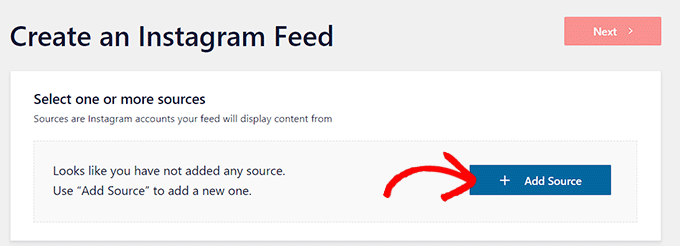
Once you do that, you will be taken to the ‘Select one or more sources’ page.
To connect your Instagram account to your website, just click the ‘+ Add Source’ button.
This will direct you to the Smash Balloon website, where you will be asked to select your Instagram account type.
Keep in mind that if you have a personal Instagram account, then Smash Balloon will automatically connect your website with it.
However, if you have a business account, then it must be connected to your Facebook page, which will then be connected to Smash Balloon.
For this tutorial, we will be selecting the ‘Personal’ option.
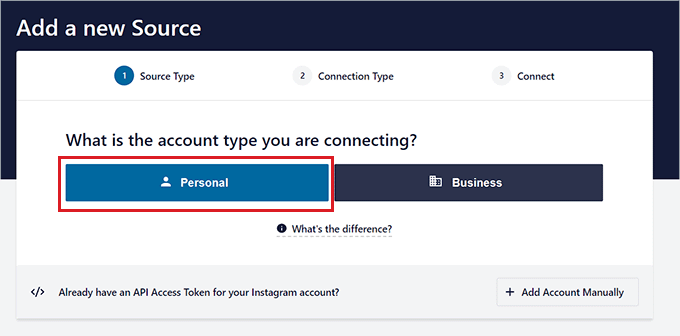
Now, you will be taken to the next step.
Here, you have to click on the ‘Connect with Instagram’ button to move forward.
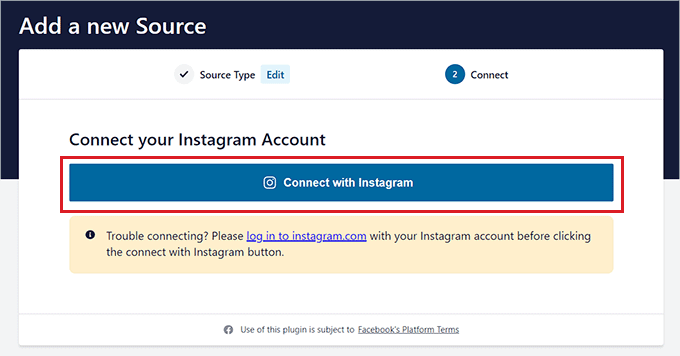
The Instagram platform will open up on the screen, and you will have to log in to your account.
Once you have done that, Smash Balloon will ask for your permission to collect data from your Instagram account. Simply click the ‘Allow’ button.
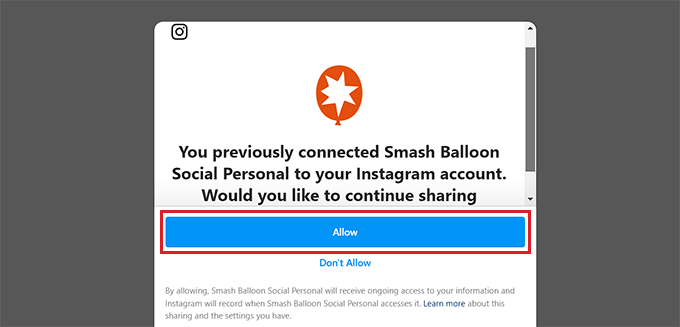
You have now successfully connected your Instagram account to your website.
Now, you need to pick your account and click the ‘Next’ button on the ‘Select one or more sources’ page.
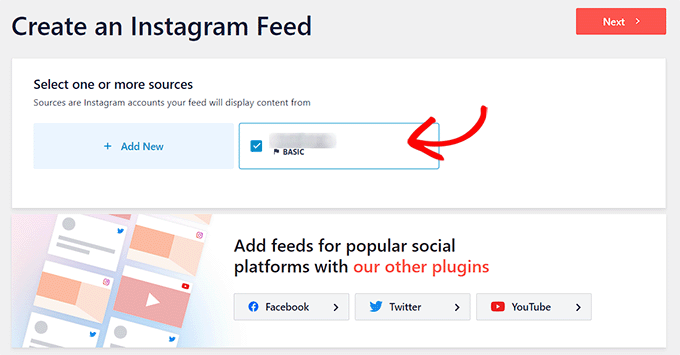
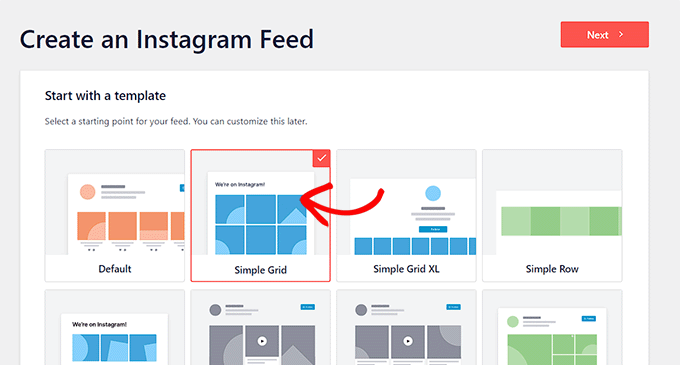
This will direct you to the ‘Start with a template’ page, where you can choose any of Smash Balloon’s premade templates for your Instagram photo feed.
After that, click the ‘Next’ button.
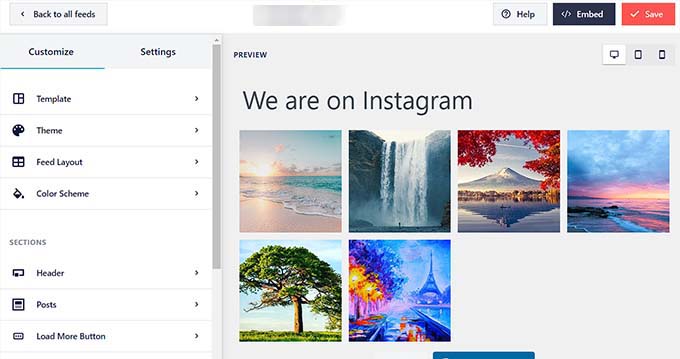
The plugin will now load your Instagram feed in its live preview editor. Here, you will notice a feed preview on the right side and the settings column on the left side of the screen.
To start customizing your Instagram feed, click on the ‘Layout’ tab.
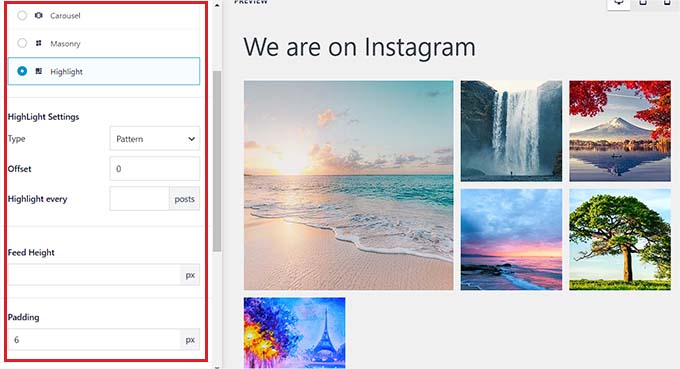
This will open some settings in the left column, where you can change your layout to carousel, grid, highlight, or masonry.
Keep in mind that if you are using the free plugin, then some of the customization options may be locked for you.
Once you have done that, you can also configure the feed’s height, padding, and the number of posts that will be displayed in the feed from here.
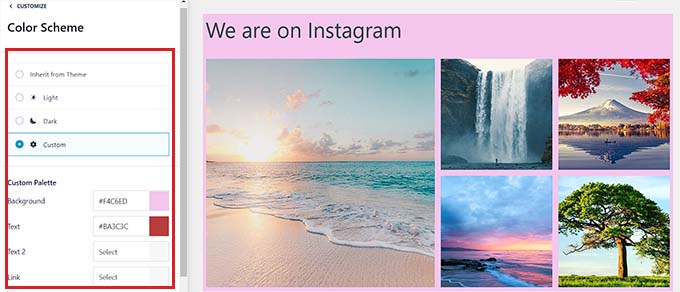
Next, click on the ‘Color Scheme’ tab from the left column.
You can keep your Instagram feed in light or dark mode or even create your own custom color scheme for it by choosing the ‘Custom’ option.
After that, click on the ‘Posts’ tab from the left column.
Here, you can customize the individual post types, backgrounds, borders, and post radius.
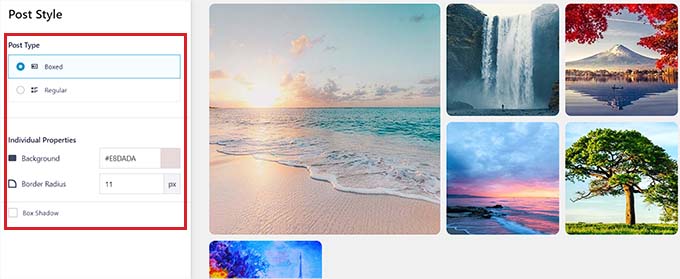
Next, you can click on the ‘Load More Button’ or ‘Follow Button’ tabs to add those buttons to your feeds.
For more details on customization settings, please see our tutorial on how to easily embed Instagram in WordPress.
Finally, click the ‘Save’ button at the top to store your settings.
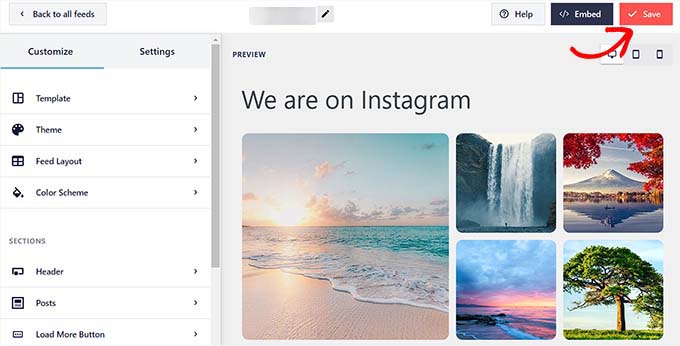
Now, it’s time for you to embed your Instagram feed on a WordPress page or post.
To do this, visit the Instagram Feed » All Feeds page from the WordPress dashboard.
Once you are there, just copy the shortcode for the Instagram feed that you created.
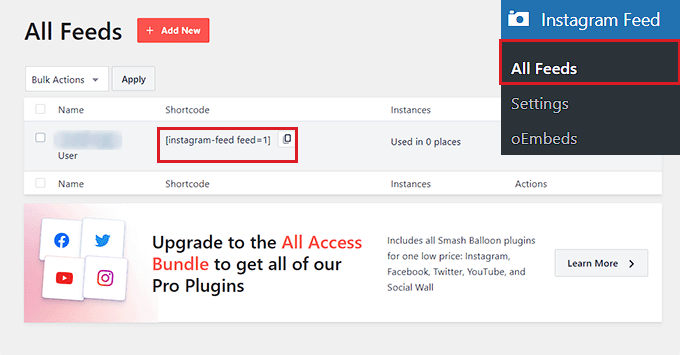
After that, open a WordPress page or post of your liking in the block editor.
From here, click the add block ‘+’ button in the top left corner of the screen to add the Instagram Feed block.
Next, paste the shortcode you copied earlier into the ‘Shortcode Settings’ section.
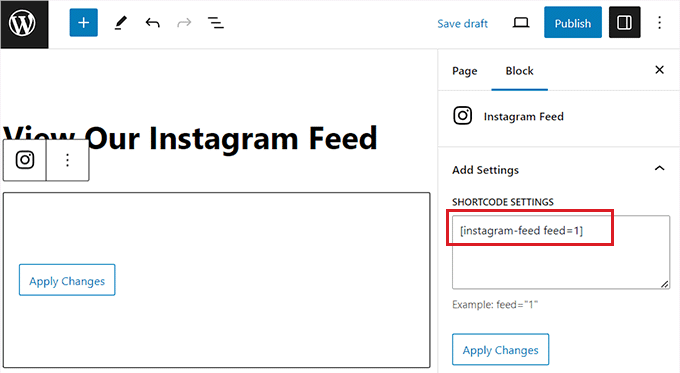
Finally, click the ‘Update’ or ‘Publish’ button to store your settings.
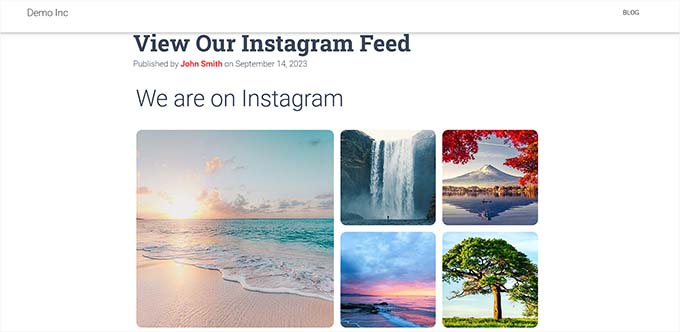
You can now visit your WordPress site to view the Instagram feed in action.
Bonus: Create an Image Gallery in WordPress
Embedding your Instagram feed on your website is just one way to show off your photography. Alternatively, you can create your own image gallery in WordPress.
This can be extremely helpful if you have a photography website or sell images using Easy Digital Downloads. It can also make your website look more attractive in general.
Plus, if you have an online store, then creating a gallery for product images can help you display all your products in one place and help boost sales.
Envira Gallery is the best choice for adding an attractive image gallery to your WordPress site.
It is the best WordPress gallery plugin that comes with a drag-and-drop builder, premade gallery templates, social sharing, image compression, watermarking, pagination, and so much more.
The plugin can also integrate with Pinterest, Instagram, WooCommerce, and Beaver Builder. For more details, please see our tutorial on how to create an image gallery in WordPress.
We hope this article helped you learn how to automatically post new Instagram photos to WordPress. You may also want to see our tutorial on how to create a custom Facebook feed in WordPress and our top picks for the best social media plugins for WordPress.
If you liked this article, then please subscribe to our YouTube Channel for WordPress video tutorials. You can also find us on Twitter and Facebook.


ASHIKUR RAHMAN
for step 1 ifttt , will those image be saved in my server/wp media? if yes then those image will be on original size/quality?
also can we setup posting from following list? people that i follow.
WPBeginner Support
The process should bring the images into your media library and your theme’s image sizes would determine the image size used.
This would not be for lists that you are following.
Admin
THANKGOD JONATHAN
I have been using Zapier free plan for longtime because of some budget issues but comes with a lot of limitations. Is the free version of IFTTT better than that of Zapier free plan?
WPBeginner Support
IT would depend on how you use it, as it is free we would recommend giving it a try to see if it works for you
Admin
Konrad
In IFTTT it’s also worth noting that you can create custom applets for more advanced automation. For instance, you can set up an applet that posts only photos with specific hashtags or from certain locations if its useful for you
Jiří Vaněk
I use Smash Baloon to display an Instagram feed. However, sometimes this plugin disconnects from the feed and needs to be reconnected. I’m not sure if it’s a server configuration issue because it happens across multiple websites or if it’s due to some changes on Instagram’s end. Occasionally, I have to check the website to see if the feed is displaying. It doesn’t happen too frequently, but in the last year of running the website, it disconnected and stopped displaying the feed maybe 2 or 3 times.
WPBeginner Support
If you reach out to Smash Ballon’s support they should be able to assist and let you know. For the most part it seems that social media sites are making changes to how their content may be accessed as a major factor.
Admin
Jiří Vaněk
If it helps anyone, the issue has been identified. It turns out that changes on the social network’s side often cause the token to disconnect, requiring the creation of a new one. It’s a good idea to occasionally check if the token for connecting to the social network is functioning and active. This is not a problem with the plugin developer but due to changes made by the social network.
Ralph
I used wordpress tool for that to put my feed in footer or that was a function of my theme, don’t really remember. It looks really nice, when you create well designed posts, however i focus on my website most. Leaving “gate” to instagram is for me another distraction that may take my reader away and lower my goal conversion.
WPBeginner Support
That could be something to consider depending on your content but you can also share your posts on instagram to work on driving traffic to specific sections of your site’s content.
Admin
Ricki Wellman
When using the IFTTT it’s posting to Wordpress ok but it is adding a description.
I’ve tried a few times, why is this showing?
WPBeginner Support
You may want to check that the recipe/applet you’re using is not adding a specific excerpt with your settings for the most likely reason.
Admin
Justin
Does this work with instagram video posts as well?
WPBeginner Support
It would depend on the method you’re asking about
Admin
Bryan Matheson
Will this work if my wordpress site is hosted elswhere, like bluehost.com?
WPBeginner Support
Yes, our tutorials are for WordPress.org sites and as you’re hosted on BlueHost your site is a WordPress.org site.
Admin
Laurie
I was so excited to find this. Sadly Wordpress has made it so you have to buy their yearly business plan otherwise you can’t use plugins.
WPBeginner Support
Hi Laurie,
You are probably using WordPress.com. Please see our guide on the difference between self hosted WordPress.org vs free WordPress.com blog.
Admin
Tess
Mine doesn’t seem to load? it just has this little loading symbol, if i click the follow button it will go to the page though.
RubnawazQureshi
Thank you so much. I was looking automatically Instagram into my WordPress website. Thank you again for helping me.