Do you want to add a help or a resource section to your WordPress admin panel?
If you manage a multi-author WordPress website or create websites for clients, then it can take a lot of time to explain things to different users. One of the best ways to solve this problem is by providing helpful resources and documentation inside your WordPress dashboard.
In this article, we will show you how to add a help or resource section in the WordPress admin area.
Why Add a Help Section in WordPress Admin?
Adding documentation and a resource section can help you if you’re a developer who makes themes or plugins, if you run a multi-author WordPress blog, or if you create websites for clients.
Your documentation can answer questions that different users might be asking multiple times about your site or products. This will save you time so you can focus on more important things to grow your business.
For example, on a multi-author WordPress site, you can add a help section to let authors know about your posting style, how to optimize images, and what things they should avoid. These resource sections make it easy for new team members to learn your site’s editorial workflow.
If you are a WordPress developer, then you can use the help section to let clients know about the features of their new site, how they can customize or make changes, and where they should look for more help.
That said, let’s see how you can add a documentation and resource section to your WordPress dashboard.
Adding a Help Section to WordPress Admin
The best way to add a resource section or area in WordPress admin is by using the WP Help plugin. It’s a free WordPress plugin that lets you create detailed documentation for site authors, editors, developers, and contributors.
First, you need to install and activate the WP Help plugin. If you need help, then please see our guide on how to install a WordPress plugin.
Upon activation, the plugin adds a new Publishing Help menu item in your WordPress admin just under the Dashboard. Clicking on it will take you to the main page of the plugin.
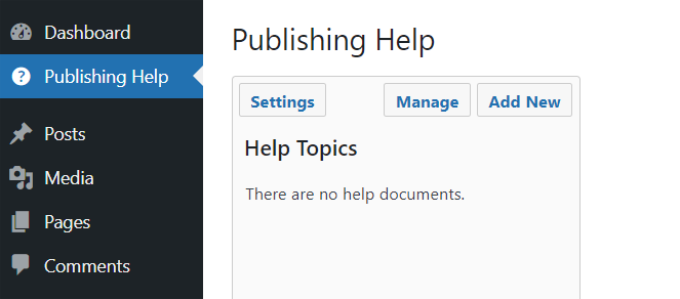
Next, to configure the plugin settings, simply click on the ‘Settings’ button.
Under the ‘Menu Location’ option, you can choose where you want the menu item to appear.
You can change that to add it as a sub-menu above or below ‘Dashboard’ or at the bottom of the page, below all other menu items.

The plugin also comes with a built-in sync feature which allows you to pull documents from another WordPress installation using WP Help. This is helpful if you want to use the same documentation for all your client sites, for example.
If you want to do that, then you need a secret URL from the source site. Simply find ‘Sync Source’ under ‘WP Help Settings’ and copy the URL. You can then paste it into ‘Sync Pull’ of your new site to get all documents from the source.
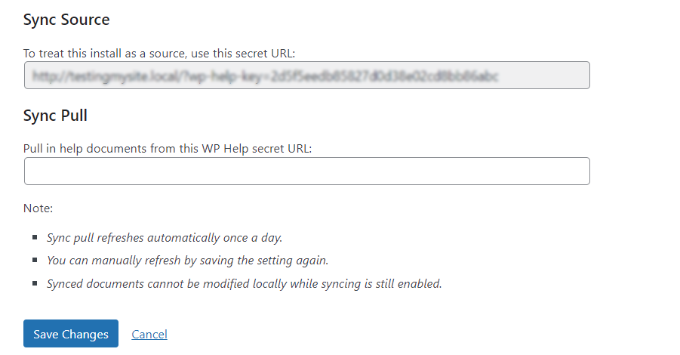
Once you have gone through all the settings options, you need to click on the ‘Save Changes’ button to store your settings.
Adding New Help Documentations in WP Help
WP Help uses a custom post type for documentation pages. This custom post type is hierarchical just like pages. This means you can create a new documentation page just like you would create a page in WordPress.
You can add a new documentation page by simply clicking on the ‘Add New’ button on the Publishing Help screen in your WordPress dashboard.
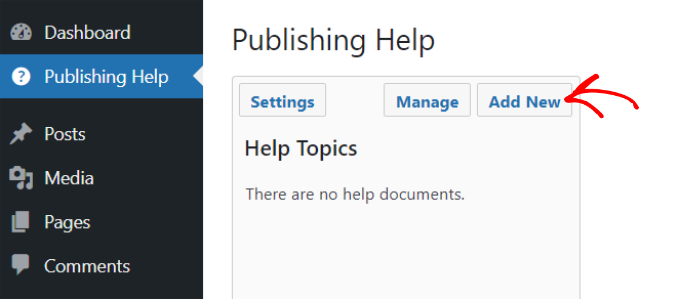
Next, you will see the WordPress content editor where you can add content for your resources.
You can add images, videos, links, and other media types, and use HTML inside your help documents. You can also create a parent or child page for structured documentation.
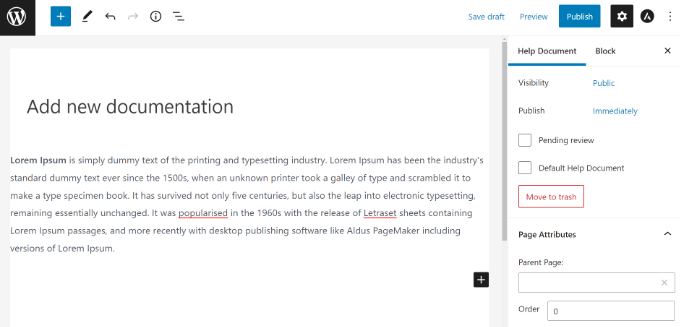
After adding content to your documentation, simply click the ‘Publish’ button.
You can then go back to ‘Publishing Help’ in the WordPress dashboard to see your newly added resource. For instance, we create a blog post style guide for new authors.
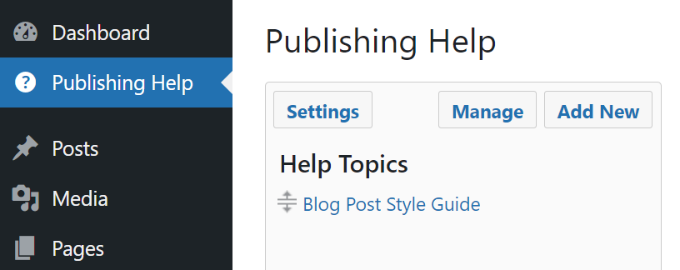
Go ahead and repeat this step to add more documentation pages.
Here’s a preview of what the helpful resource would look like if an author views it inside the WordPress dashboard.
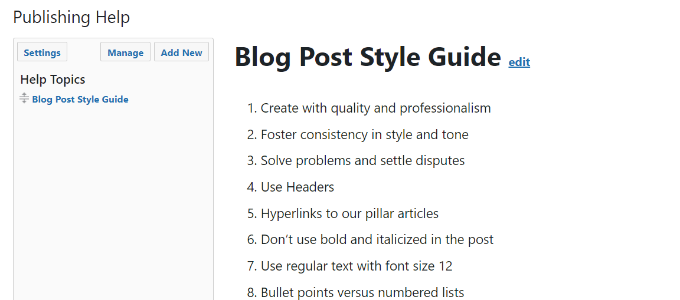
Note that WP Help documents are only visible through the admin area, and only to users who can create posts. It is also worth noting that any user who can edit published pages can also edit help documents.
This means that on a WordPress site with default user roles, editors and administrators can edit and make changes to help documents. However, contributors and authors can only read them.
That said, it’s possible to modify the user permissions on your site so that you’re the only one who can edit the resources. For more details, please see our beginners guide to WordPress user roles and permissions.
We hope this article helped you add a help/resource section in WordPress admin for your users and clients. You may also want to see our guide on how to choose the best WordPress hosting and the best WooCommerce plugins.
If you liked this article, then please subscribe to our YouTube Channel for WordPress video tutorials. You can also find us on Twitter and Facebook.


petar
This plugin comes so close to providing me with what i need. Is there any way to make a single database of documents that will appear on every subsite in the network? I know it can sync them manually but i need it to happen automatically so when someone creates a site in my network the docs are already in their dashboard.
Derek Whitten
A very handy plugin! I’ve just set it up on my Wordpress site, but am having troubles with the sync/pull feature. For some reason, in the site that’s pulling it seems to break wherever I have included links in the source help files. Anyone else encountered this issue and know of a workaround?
bgibson135
The WP Help plugin would be useful for those developing an eportfolio template site for students. They could create Help content and then push it out to the template. Copy the eportfolio template site for each student, and they would have the current “Publishing Help” section when they go to develop their site.
Nice plugin!
Sumera Hayat
great information of wordpress
Sumanu Phuket
Great Article !
Thank you