Do you want to display WordPress photos in columns and rows?
By default, WordPress adds images in a vertical column on top of each other. However, if you are adding multiple photos to a blog post, then this doesn’t look very clean and requires a lot of scrolling for your users.
In this article, we will show you how to easily display WordPress photos in columns and rows.

Why You Need WordPress Photos in Columns and Rows
By default, when you add multiple images to a WordPress blog post, they would appear right next to each other or on top of each other.
This doesn’t look very good, and your users must scroll a lot to view multiple images and photos.
You can easily solve this problem by displaying photos in rows and columns using a grid-based layout. This way, images will appear in a compact layout and improve user experience on your website.
If you have a photography website, then you can show your portfolio in a more engaging way. Or you can show more product images on an online store by displaying them in rows and columns.
Having said that, let’s take a look at how to display WordPress photos in columns and rows manually or use a WordPress plugin. Simply click the links below to jump ahead to your preferred section.
1. Display Photos in Columns and Rows without Plugins
This method does not require installing a plugin on your WordPress website. If you don’t add multiple photos too often, then this would work just fine for you.
You can manually add images to a column block or use the default gallery block in WordPress.
Adding Images to a Column Block
First, you need to create a new post or edit an existing one where you want to display your photos. Once you’re in the content editor screen, click the ‘+’ button to add a column block.
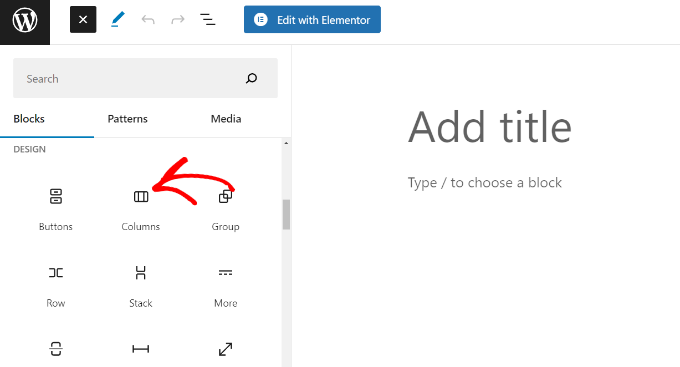
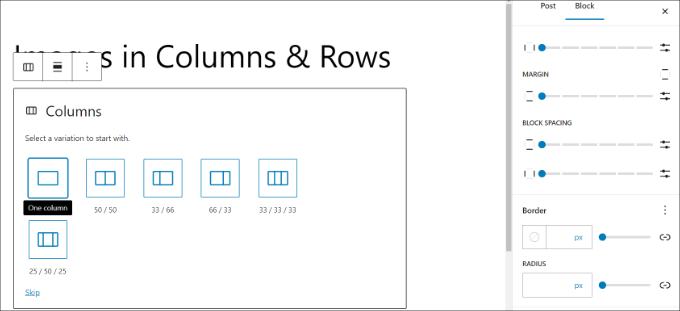
Next, you can choose the number of columns you’d like and its layout.
For instance, you can choose a 50/50 ratio, 33/66 ratio, 25/50/25 ratio, and more.
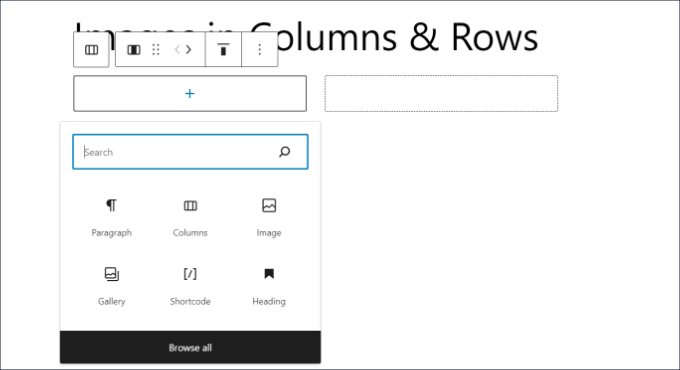
After that, you can add an image block to each column.
Simply click the ‘+’ button and select the ‘Image’ block.
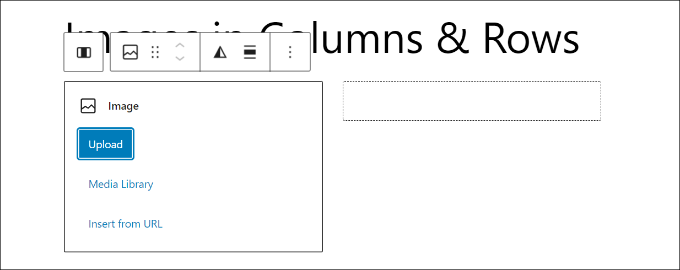
Next, you will need to add an image to the block.
You can click the ‘Upload’ button to add an image from your computer or select the ‘Media Library’ option to use an existing picture.
Once the media library opens, simply select your preferred image and click the ‘Select’ button.
One of the image optimization best practices is to add an alt-text to your image. This allows search engine bots to understand your picture and show it in image search results.
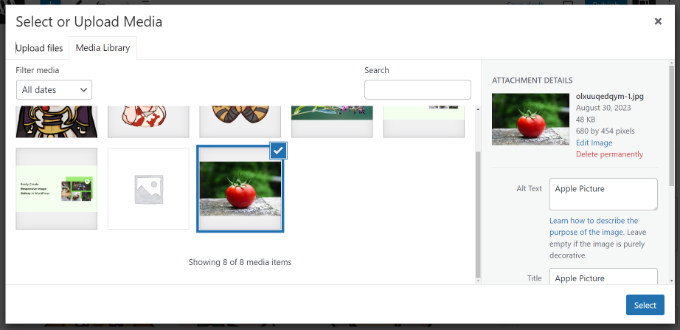
You should now see your image in one of the column blocks.
Now, you can do the same for other blocks in the column and add more images.

Adding Images in a Gallery Block
WordPress also offers a default gallery block that you can use to display images in columns and rows.
To start, click the ‘+’ button and add a Gallery block in the content editor.
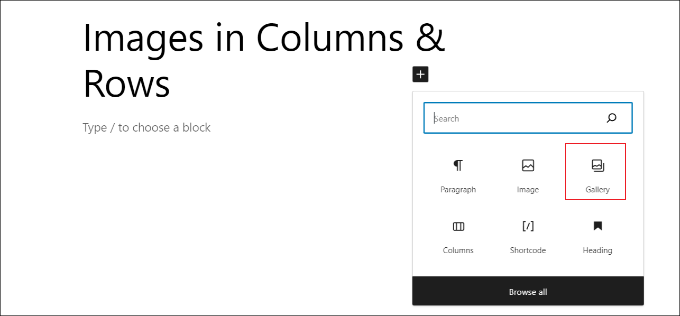
Next, you’ll need to upload images or choose from the media library.
For this tutorial, we’ll choose the ‘Media Library option.

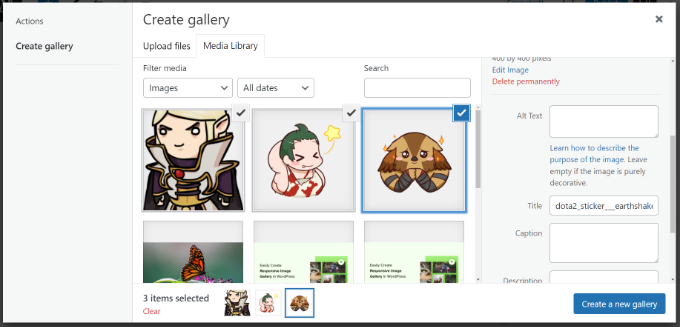
From, simply select the images you’d like to add to your gallery and display them in rows and columns.
Once you choose the images, click the ‘Create a new gallery’ button.
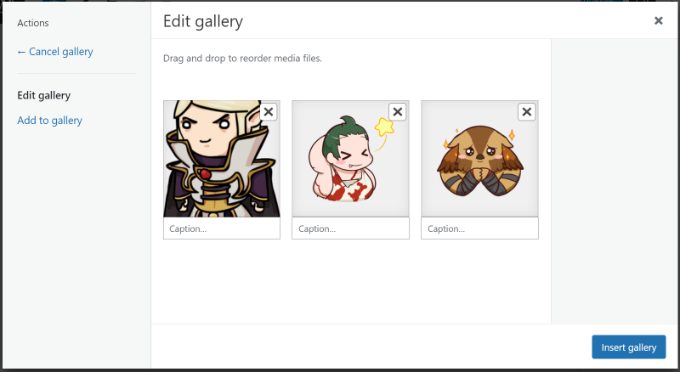
Next, WordPress will ask you to enter captions for each image and rearrange the order of the pictures.
After doing that, simply click the ‘Insert gallery’ button.
You should now see your images in the gallery block.
You can adjust the number of rows by clicking the slider in the Settings panel on the right.
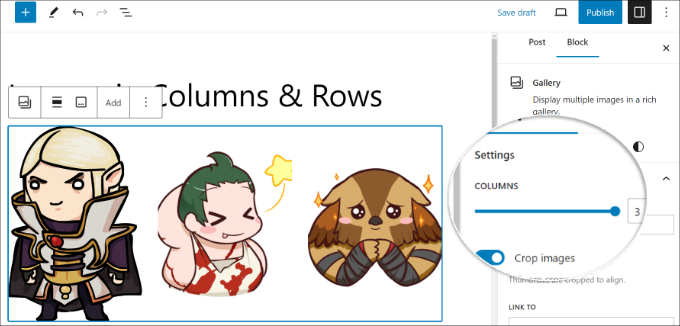
Once you’re done, simply publish your post to view images in columns and rows.
Simply visit your site to see them in action.

This method would work for most beginners. However, if you run a photography blog or often share photos on your website, then this method lacks several important features.
For example, the appearance of photos relies on your WordPress theme and you are limited to that one particular layout and style.
Your images will not open in a lightbox popup and users will have to load them as a new page and then hit the back button to return to the original page.
For a more professional and beautiful user experience, you should try the plugin method.
2. Display Photos in Columns and Rows Using a Plugin
The best plugin to add photos in columns and rows is Envira Gallery. It is the most popular WordPress gallery plugin that is super easy to use and offers lots of features.
First, you must install and activate the Envira Gallery plugin. For more details, see our step-by-step guide on how to install a WordPress plugin.
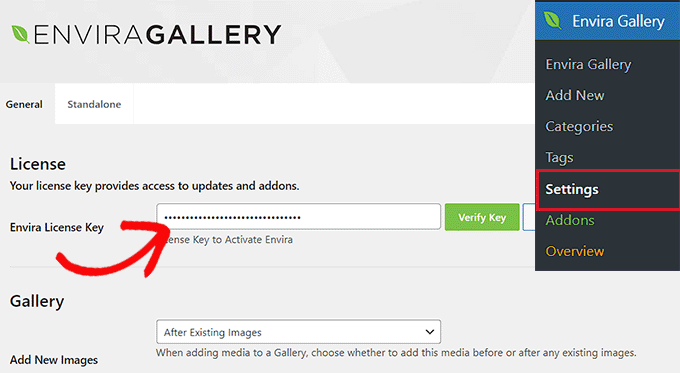
Upon activation, you need to visit the Envira Gallery » Settings page to enter your license key. You can get this key from your account on the Envira Gallery website.
Now, you are ready to create beautiful image galleries.
Simply head over to Envira Gallery » Add New from the WordPress dashboard to create your first gallery.

First, you’ll need to enter a name for your gallery at the top. From here, you can select and upload files from your computer, or you can select from the WordPress media library.
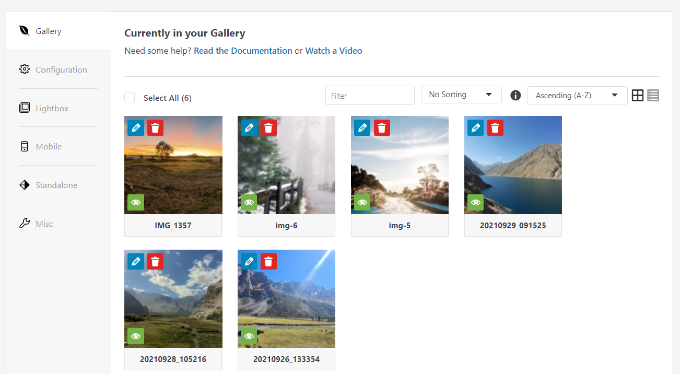
After uploading your photos, you’ll see them appear in the gallery settings box below.
Next, you need to click on the ‘Configuration’ tab to customize how you want to display your photos.
Envira Gallery lets you choose different gallery layouts. To show images in rows and columns, you can select the grid, mason, and square layouts.
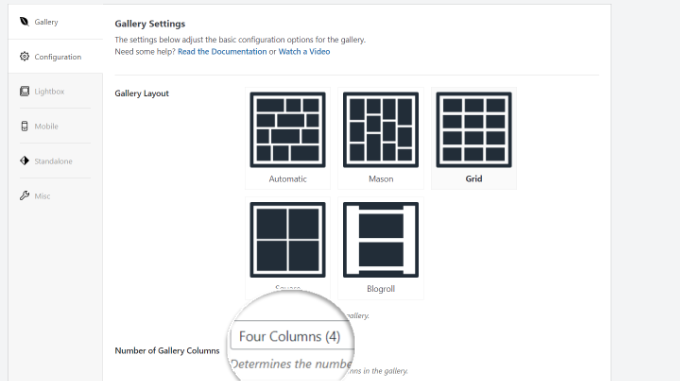
After selecting the layout, you can click the ‘Number of Gallery Columns’ dropdown menu and choose how many columns you’d like to show.
If you scroll down, then you’ll see more options to customize your gallery. For instance, there are settings to edit the dimensions and size of your gallery.
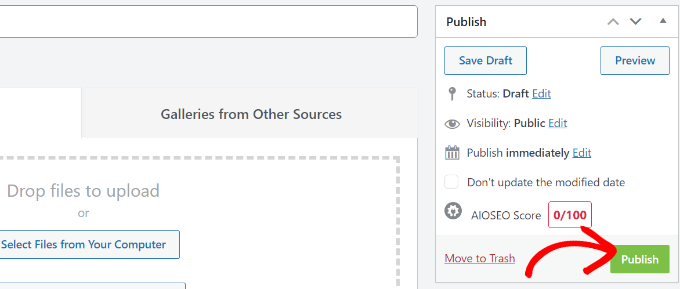
After that, you can click the ‘Publish’ button to make your photo gallery ready to be added to your WordPress site.
Now, you need to edit a post or create a new one. Once you’re in the content editor, simply click the ‘+’ button to add the ‘Envira Gallery’ block.
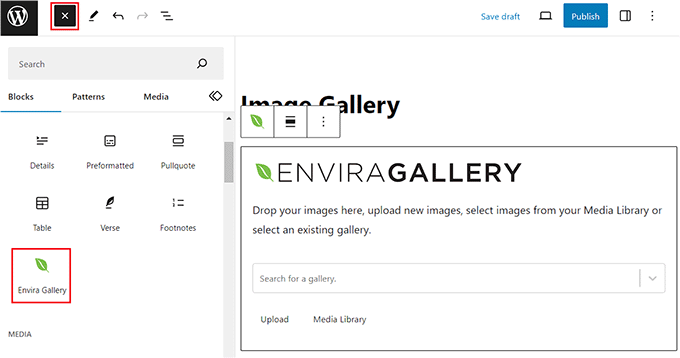
From here, you can click the dropdown menu and select the gallery you created earlier.
You can now save your post and preview it to see your photos in columns and rows in a beautiful mobile-responsive photo gallery.

Now when your users click on a photo thumbnail it will open up in a beautiful popup. They will also be able to browse images without leaving the page.
Bonus: Create a Custom Theme with Image Columns & Rows
You can also create custom WordPress themes that have a placeholder for adding images in columns and rows.
The best way to create a custom theme is by using a SeedProd. It is the best drag-and-drop website builder that offers prebuilt themes and lots of customization options.
You can add a column block to your landing page designs using SeedProd and add images to rows and columns. SeedProd even comes with a built-in Gallery block that you can use for this.
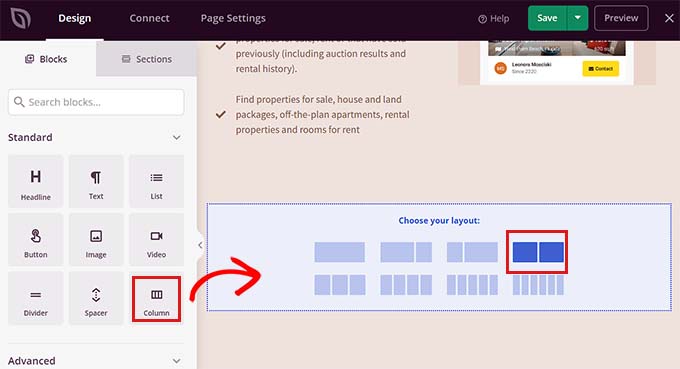
To learn more, please see our guide on how to create a custom WordPress theme with no code.
We hope this article helped you learn how to display WordPress photos in columns and rows. You may also want to see our guide on how to fix common image issues in WordPress and the best design software for small businesses.
If you liked this article, then please subscribe to our YouTube Channel for WordPress video tutorials. You can also find us on Twitter and Facebook.


Oyatogun Oluwaseun Samuel
having images on your wordpress website will bring a new level of beauty, an image they say is worth more than a thousand words. even though I have been using the block editor all this while I never thought about using the column block as container for images. This article opens my eyes to another useful tip.
Muhammad Hammad
I believe custom theme creation is time taking and the EnviraGallery plugin is a more favorable option.
However, I am wondering if you can create custom layouts within the EnviraGallery plugin or just select from the pre-installed gallery templates?
WPBeginner Support
Envira Gallery does not have a custom placement of images if that is what you are wanting from the plugin but there are many different gallery options that would scale to the user’s browser.
Admin
Asad
This was the complete beginner’s guide
WPBeginner Support
Glad you think so
Admin
Chris Thom
Using the default gallery is there a way to control the margin/padding between images?
WPBeginner Support
You would need to manually modify the CSS for your content.
Admin
Chris Thom
Good information but on the stock WP galley how can I adjust the padding between images? Right now they’re butted right up against each other.
WPBeginner Support
You would need some knowledge of CSS, for a better understanding, we would recommend taking a look at our article below:
https://www.wpbeginner.com/wp-tutorials/basics-of-inspect-element-with-your-wordpress-site/
Admin
gedi
problem is u can’t put url behind image – wp won’t give option – can’t be edited execpt in html which is drawn out… good though if you dont want someone to cliick thru
WPBeginner Support
At the moment WordPress does not have the option to add individual links by default to the gallery which is why we show Envira Gallery which does have that option
Admin
Agnieszka
Hi!
I tried to set up a gallery and even though I set the number of columns when I eventually update and preview my page all images show in just 1 column..no matter what I do!!
I tried to change the layout and number of columns but every time it is just 1 column and I have no idea how to fix it. Could you please help?
Shannon Ball
I would like to have a grid of images so that when a reader clicks on an image it takes them to an external url with more info. (like a grid of ads/sponsors) at the bottom of a post…
Any suggestions?
Isaiah Hammons
I want the same exact thing you’re talking about..
sean sewell
I am desperately after the same thing! If you ever find out please let me know!
Michelle
Just curious… I am sure you have already tried this, but on the media tab inside of wordpress have you clicked on the photo and under the information there is a spot to put a URL so someone can click on it. I know it is kind of hidden and not that intuitive, but that might work for you.
Cathrine
My gallery still won’t post in multiple columns, any idea why that might be?
Vasilis
That’s my problem also…
Anybody there?
Eileen
Wow – the gallery button function is a hidden gem I didn’t know about! Thank you.